
Recently NKN joined Oracle Startup program, and we tested deploying NKN Commercial software on Oracle Cloud via the nknx.org Fast Deploy method. Here are a simple tutorial:
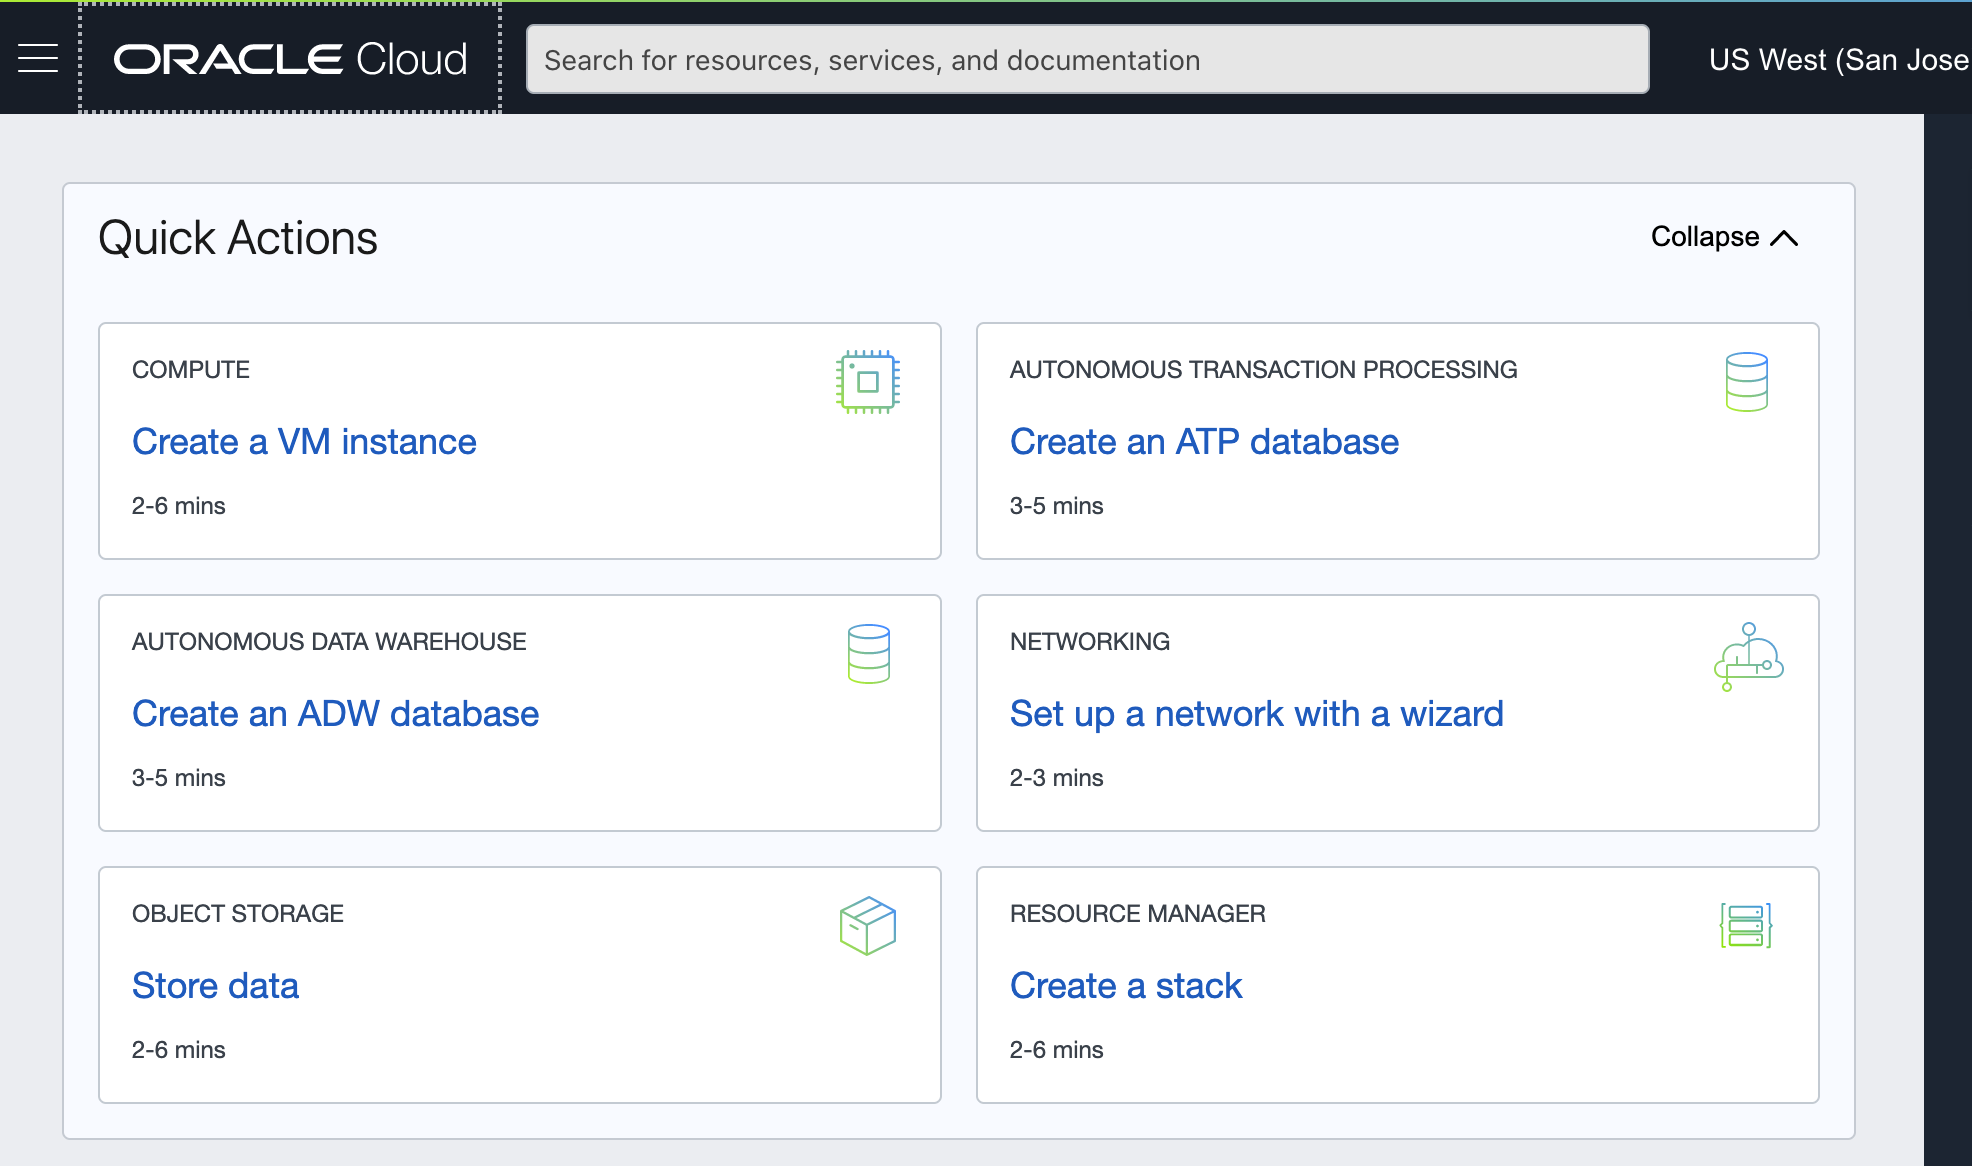
Step 1: create VM instance on Oracle cloud
Actually there are a few steps and a few options to choose.
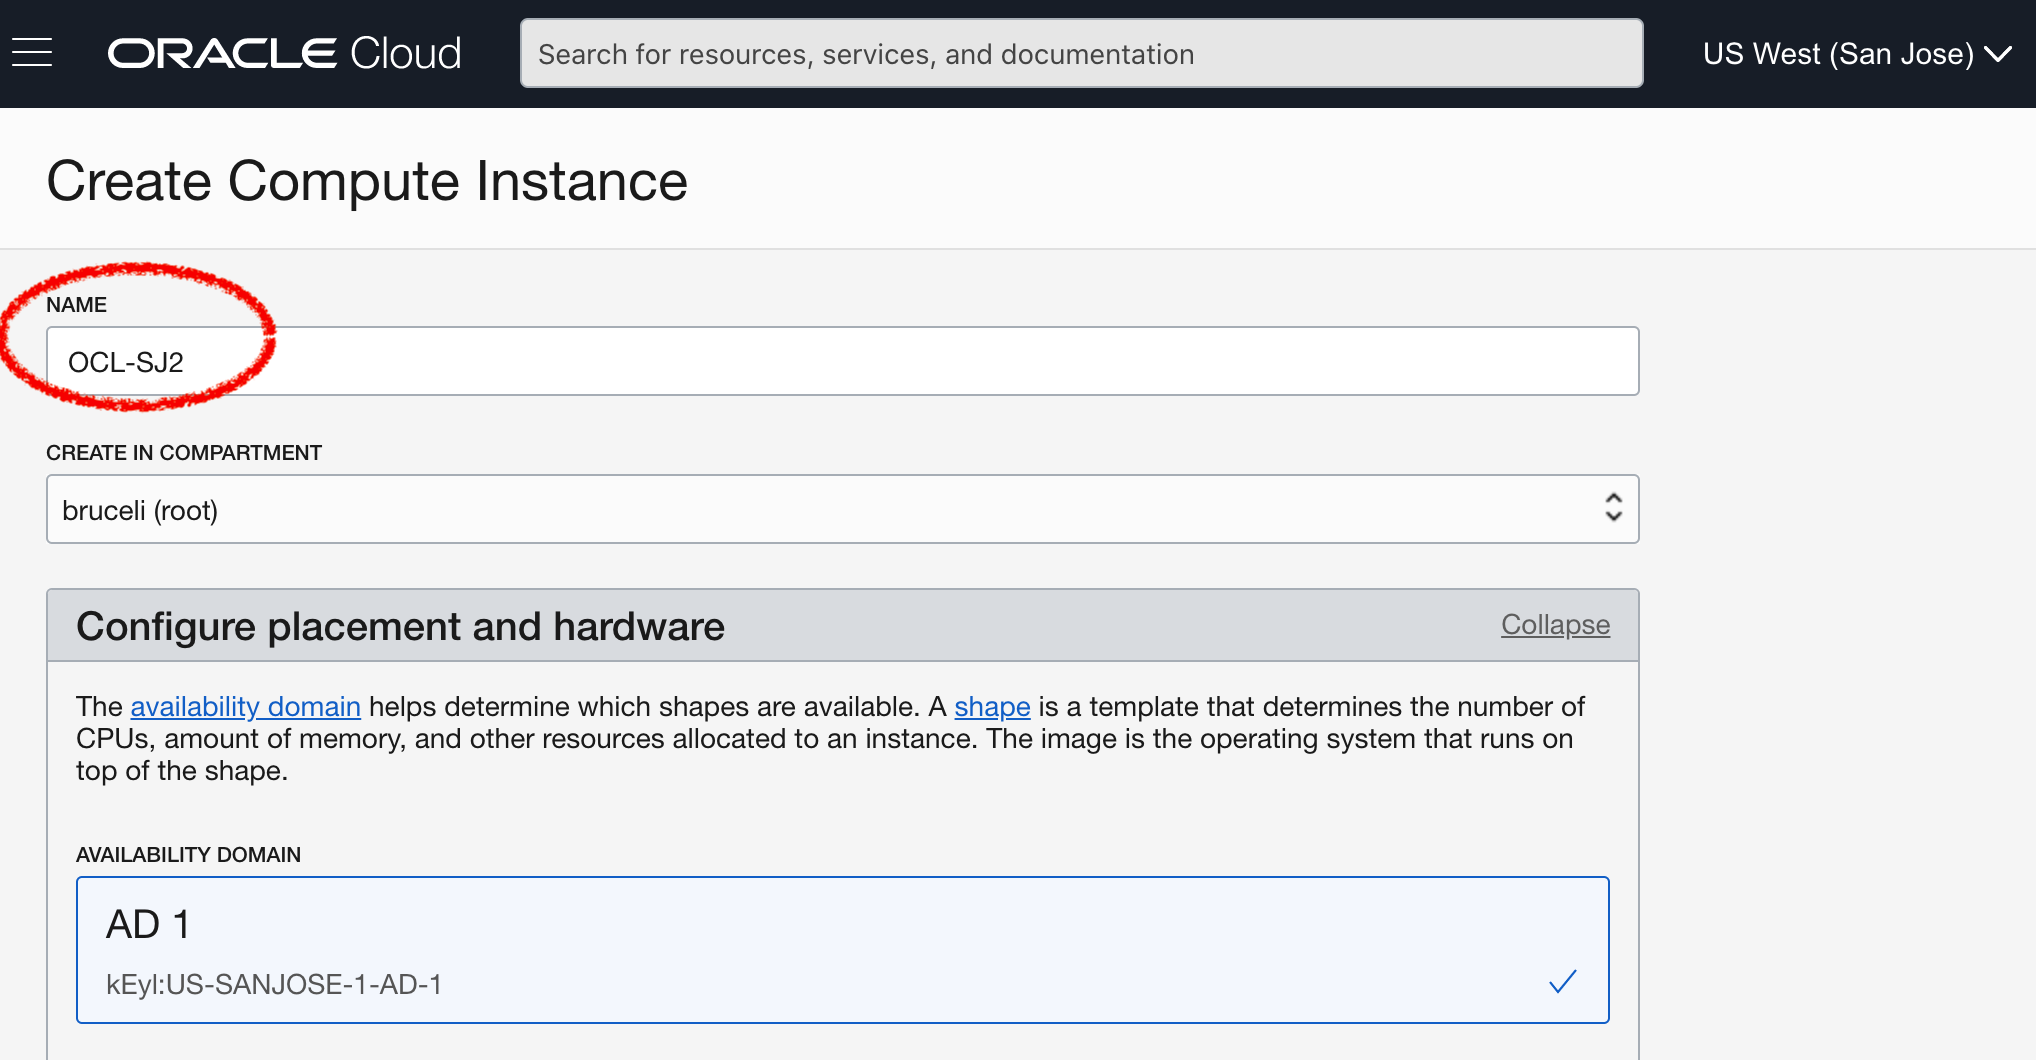
Give a name to your instance
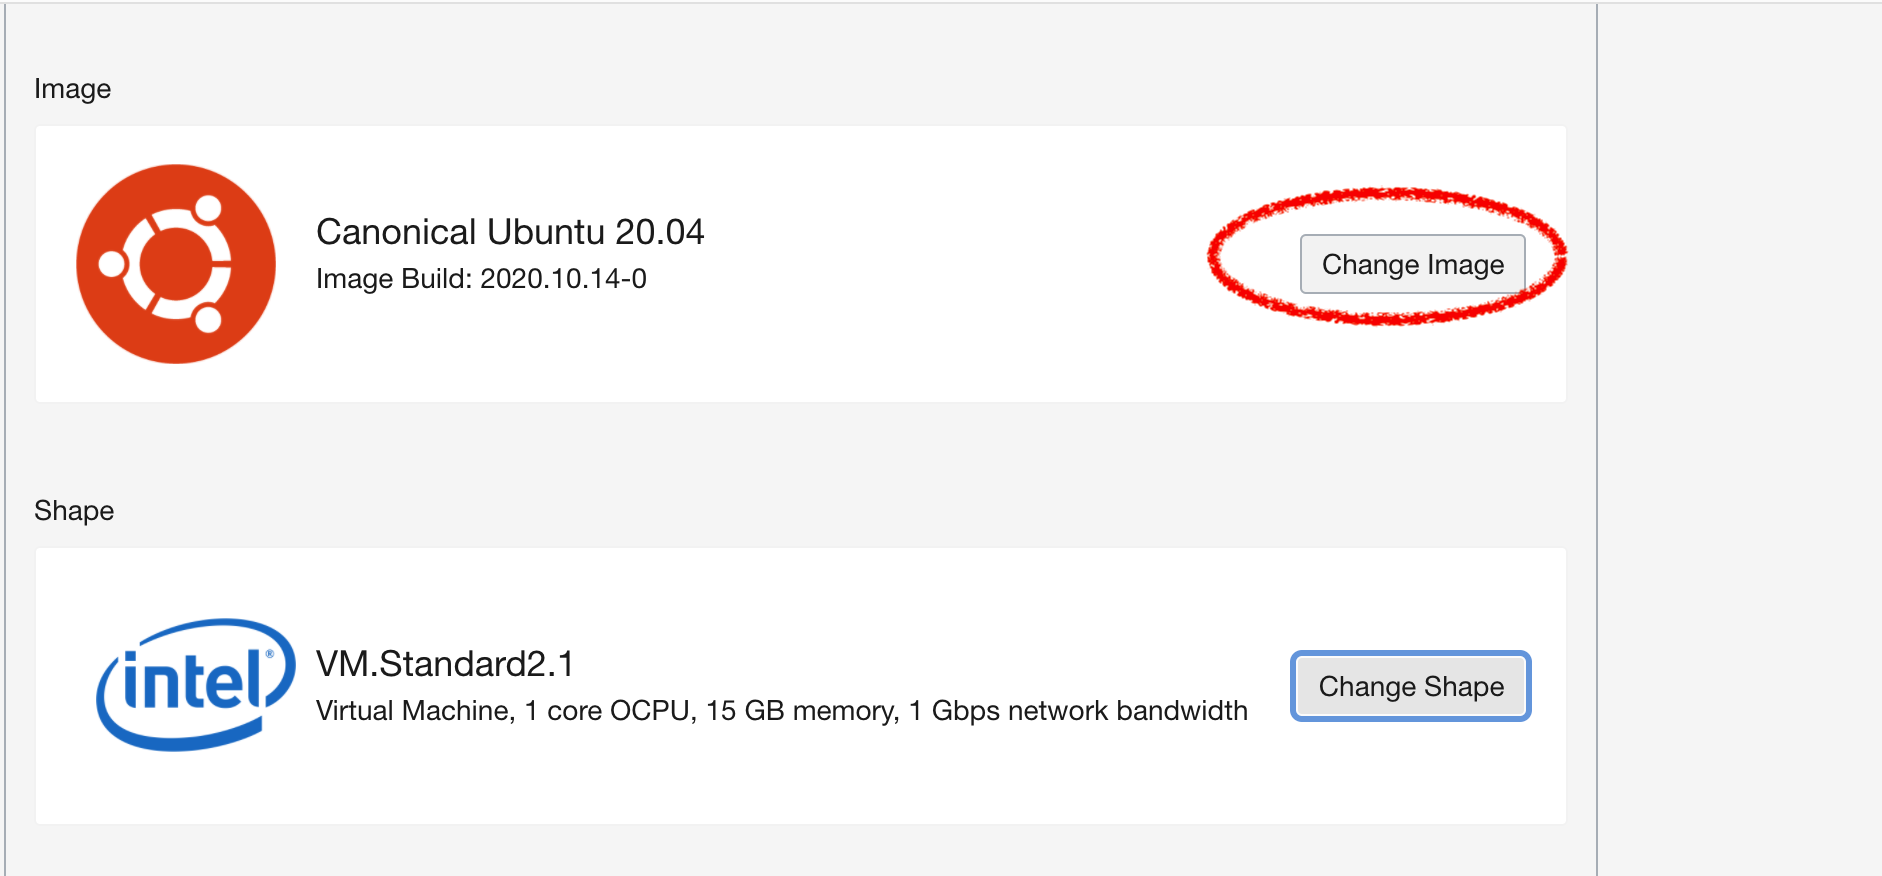
Choose the VM operating system (I prefer Ubuntu 20.04) and VM instance shape or type (you can choose the smallest, e.g. VM.Standard.E2.1.Micro)
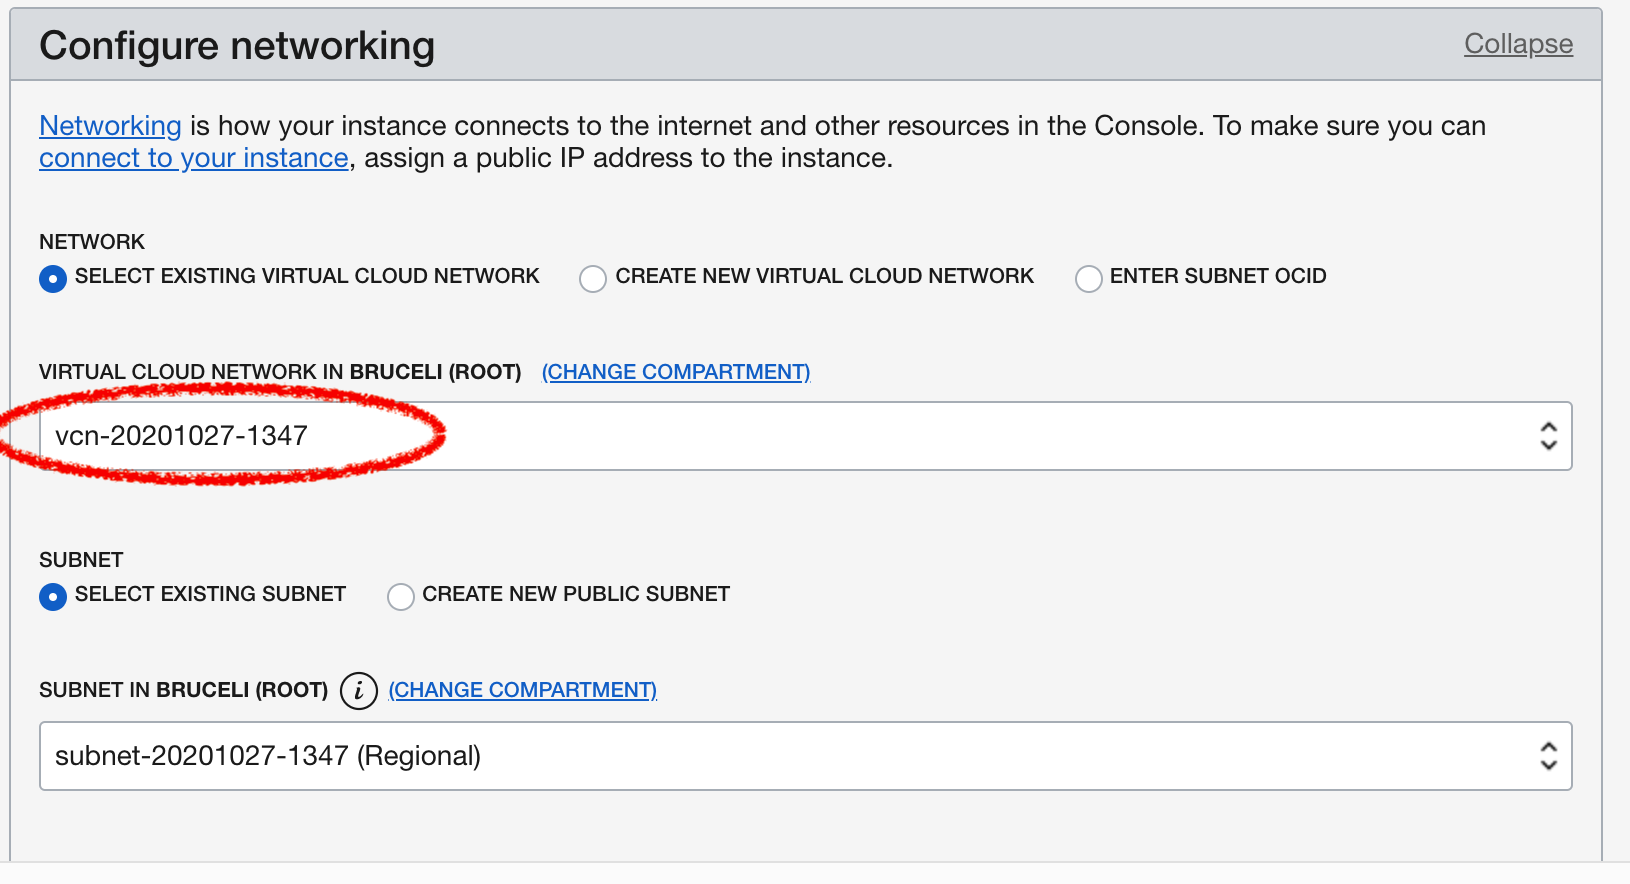
Pay attention to the virtual cloud network (VCN): it is auto generated but more on it later
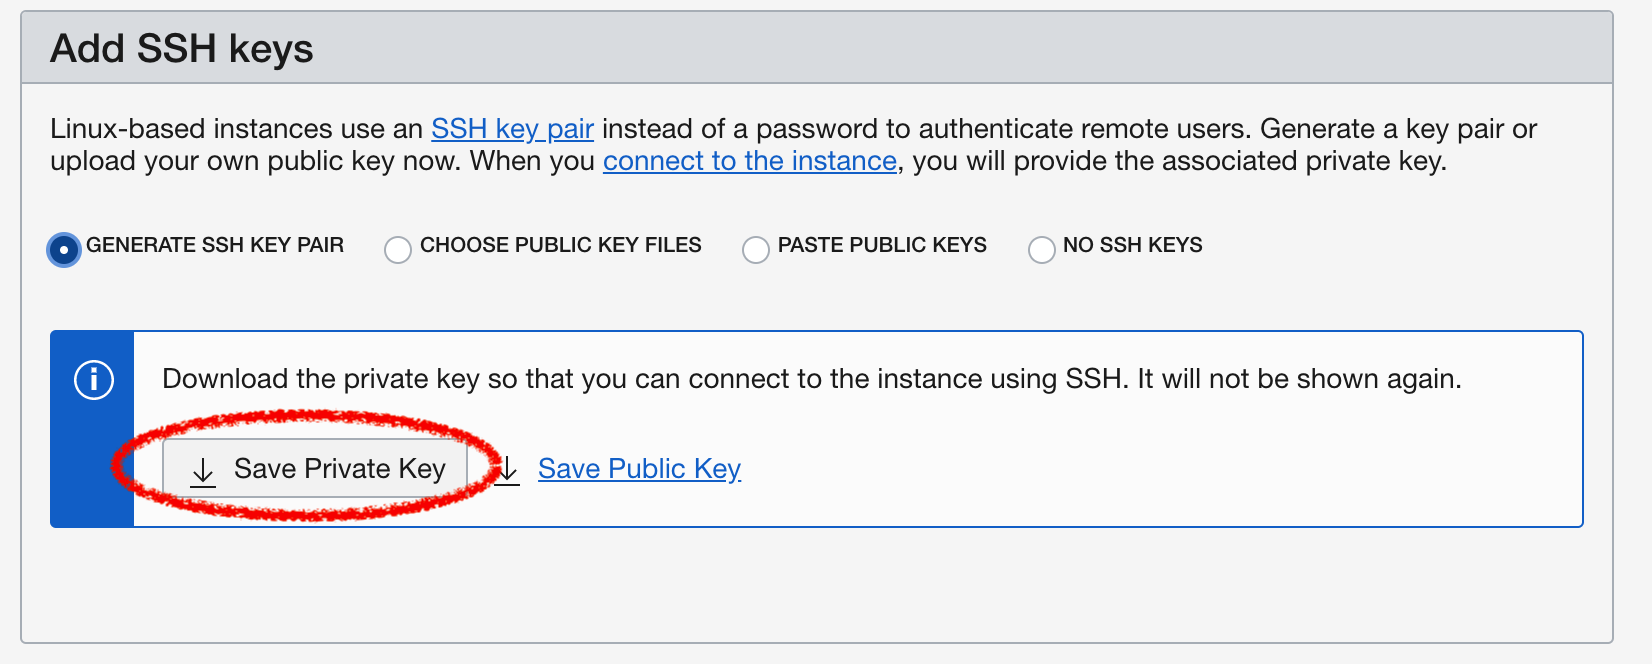
Save SSH private key for remote connection, rename it to something like ocl2.pem
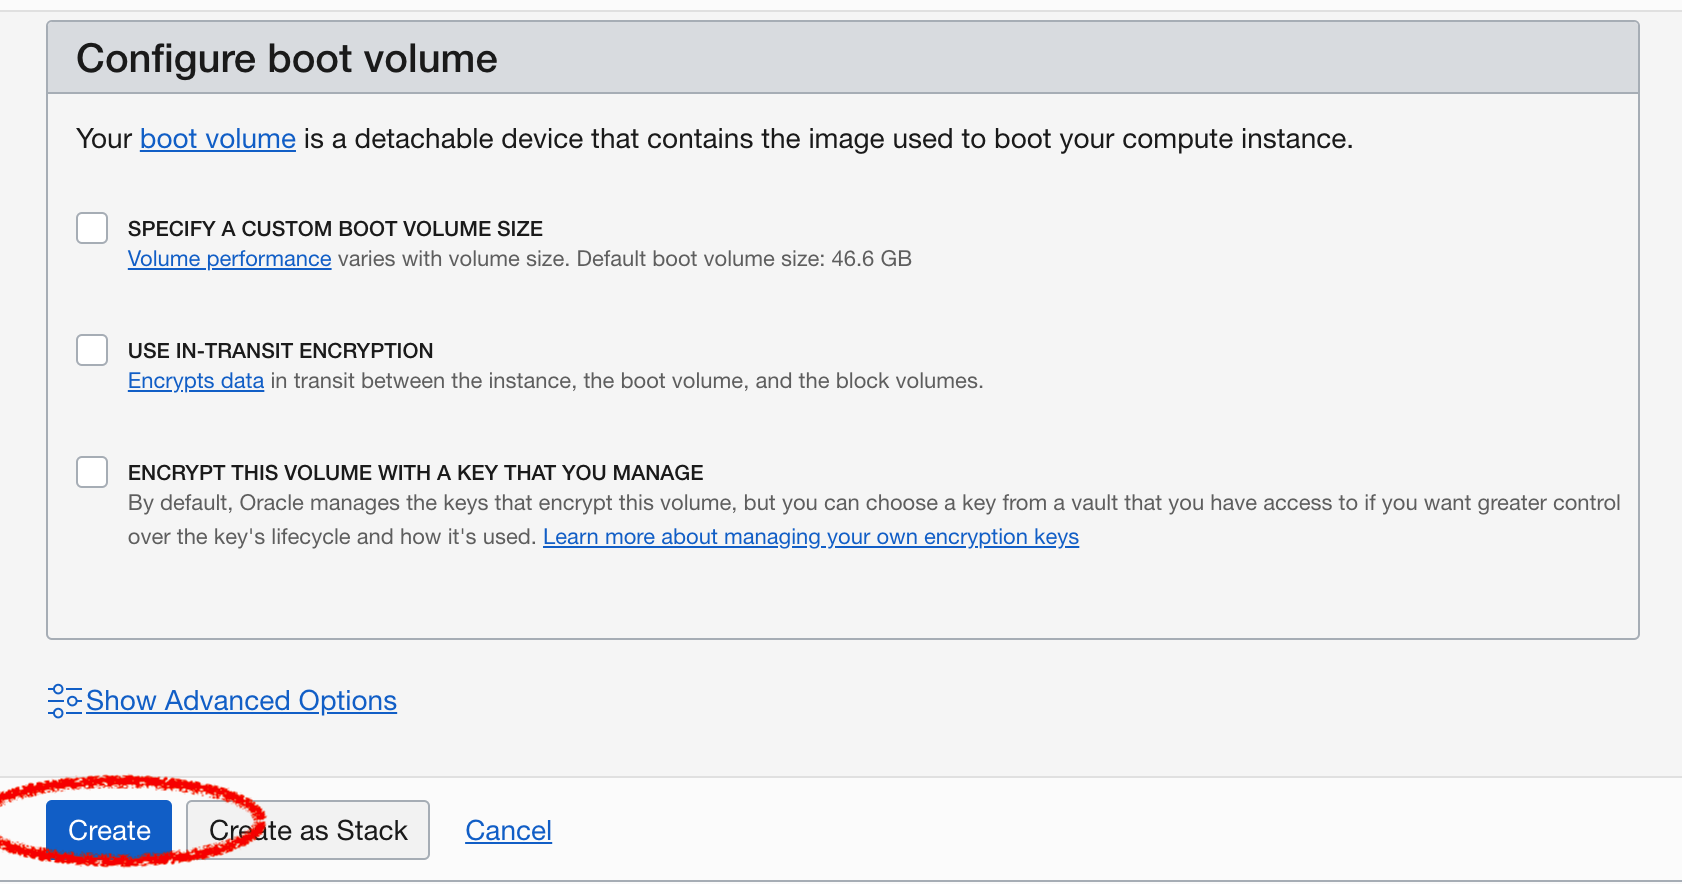
No need to change boot volume defaults, finally Create VM!
It will take just a few minutes to spin up the VM, and you can see it in the Instances page.
Add firewall rules to enable NKN traffic
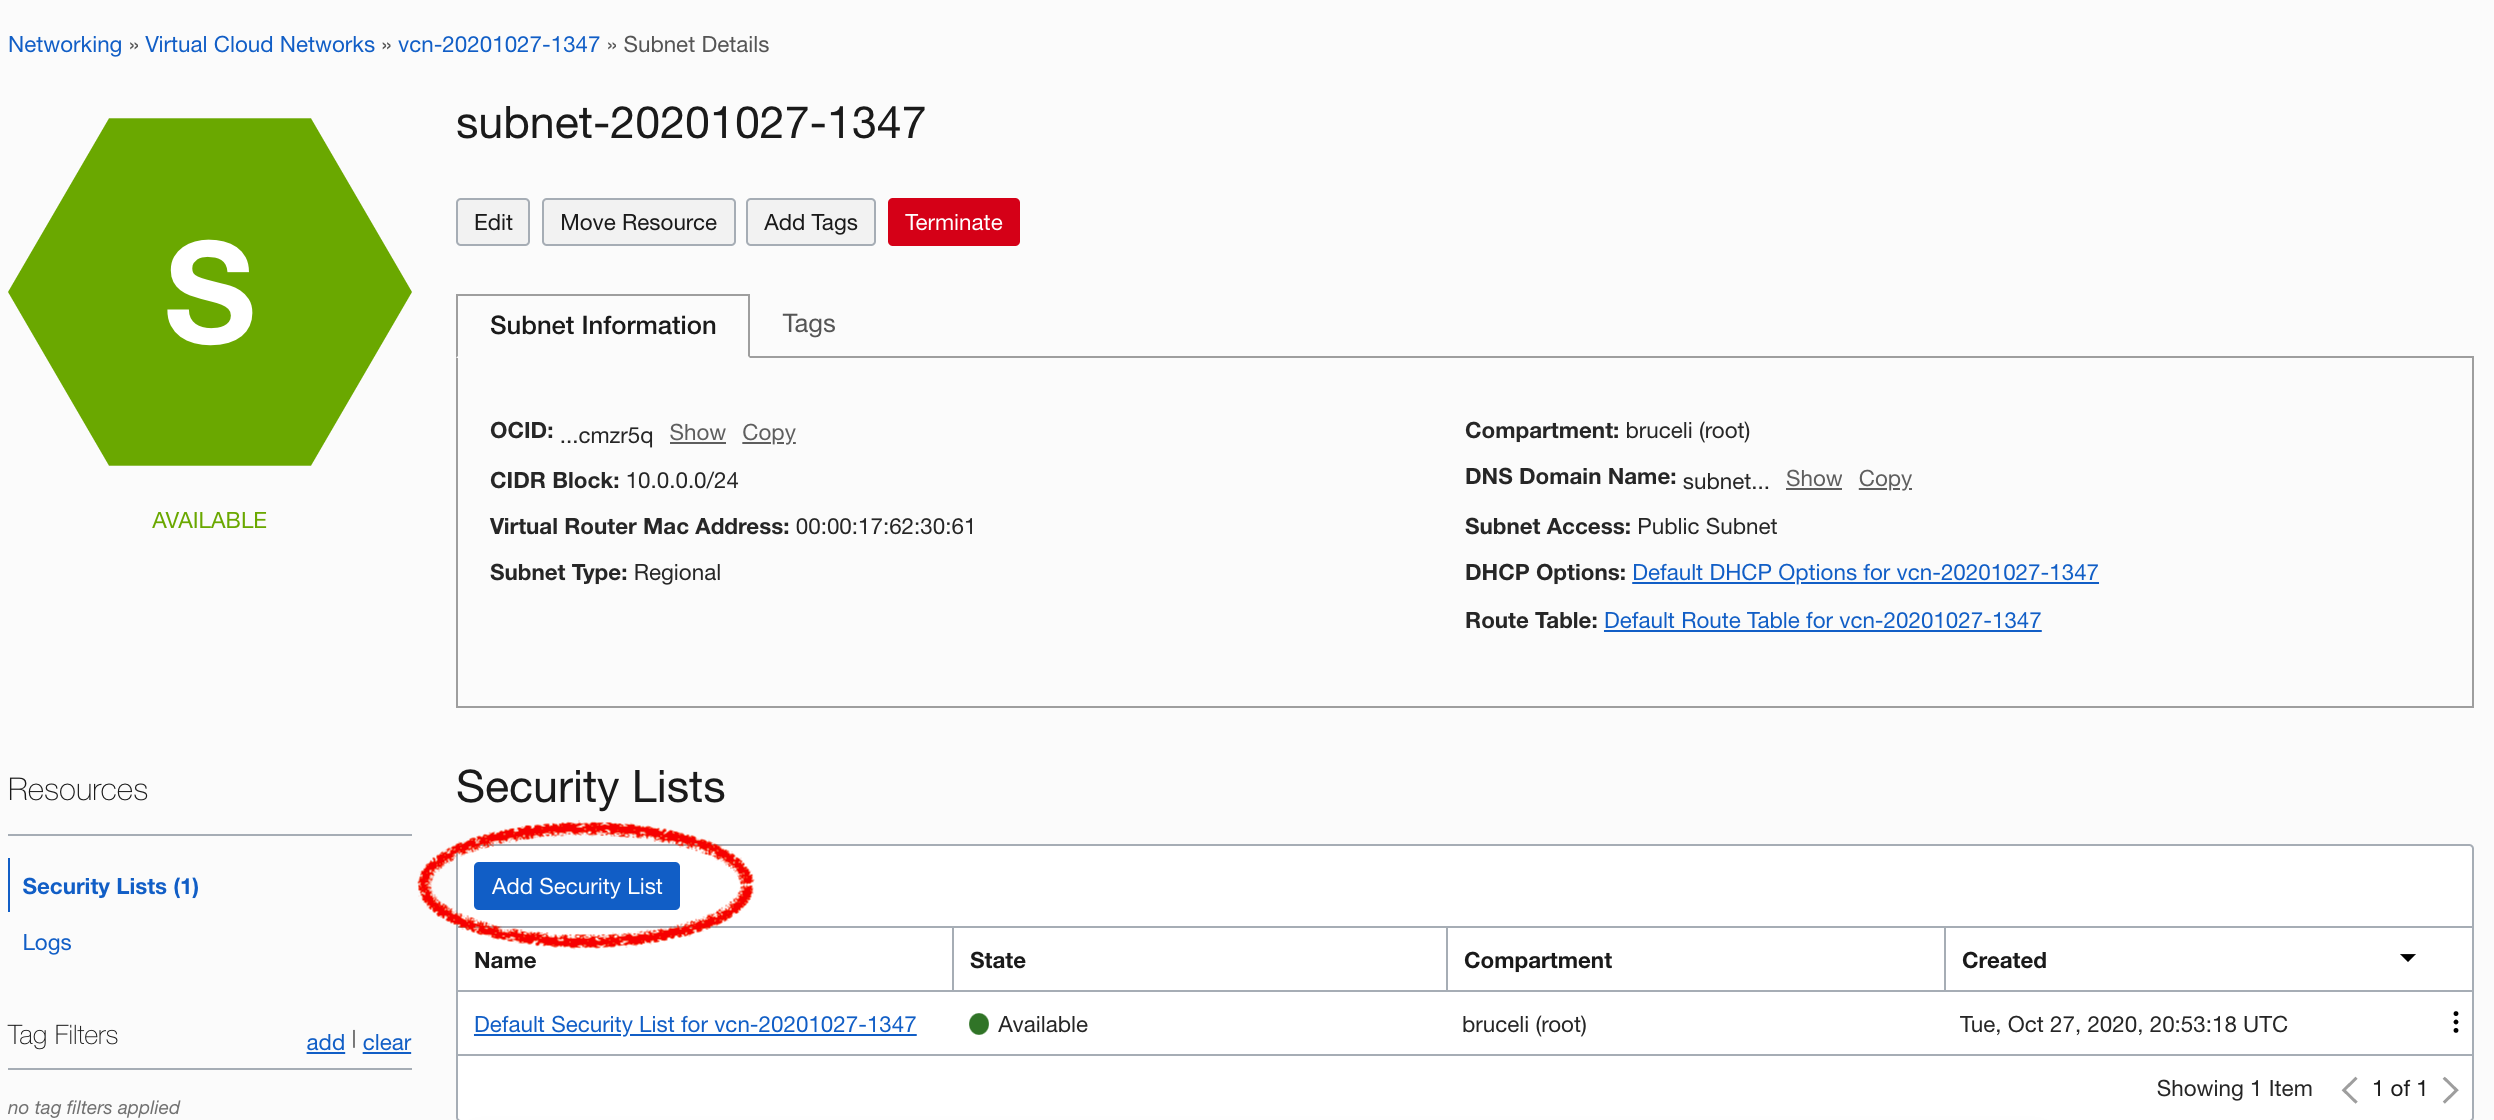
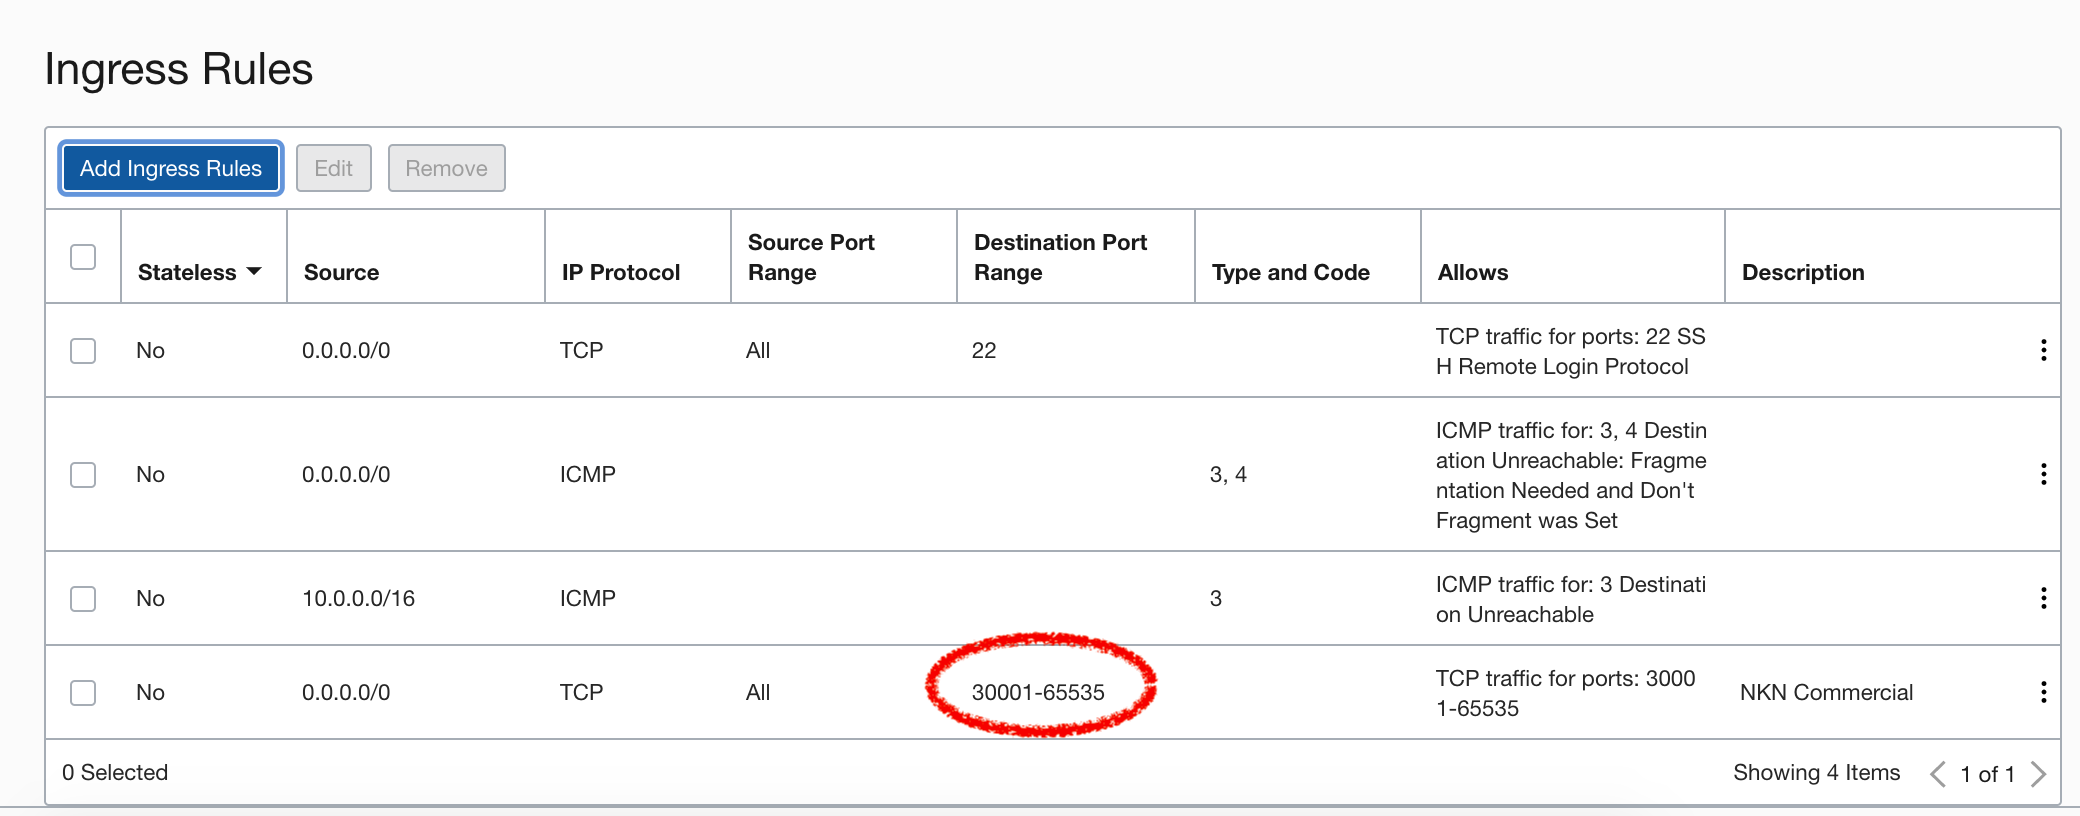
This is critical, otherwise the outside world will not be able to reach your NKN node. You will go into your vcn or virtual cloud network, and “subnet details”, under “security lists” to “add security list”
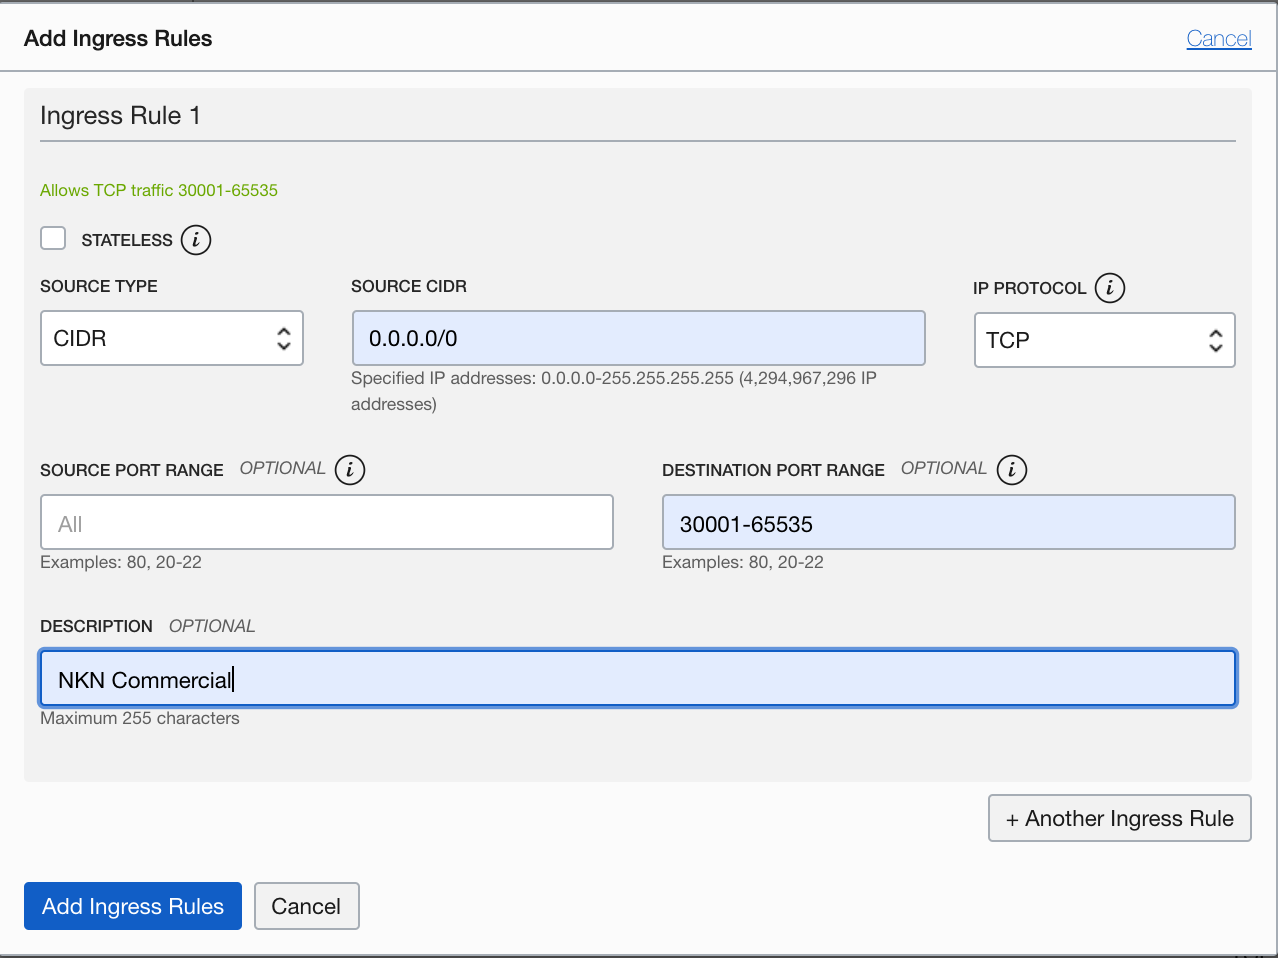
The rules are pretty simple: enable any IP address (0.0.0.0/0) to access destination ports TCP and 30001-65535.
And you can see the newly configured security list now enabled:
Step 2: SSH into your VM
Change permission on your private key that you saved earlier:
chmod 400 ocl2.pem
Now you can SSH into your VM (your user name will be ubuntu if you use Ubuntu Linux):
ssh -i ocl2.pem ubuntu@YOUR_VM_PUBLIC_IPv4_ADDRESS
Do a little bit of housekeeping, like upgrading to latest patches
sudo apt-get update
sudo apt-get upgrade
Step 3: enable ingress and egress traffic on your VM
Well, you are not entirely done yet!
This is something unique to Oracle Cloud provisioned ubuntu or other Linux image. They don’t use UFW, which nknx fast deploy scripts disable by default. But rather using iptables to deny all ingress traffic. I disabled all these operating system level firewalls, since we already have virtual network level firewall and this seems redundant. But of course you can do it in finer granularity, if you want to have double firewall.
The problem and solution is described here:
What you need to do is basically the following commands:
$ sudo iptables -L
Then I saved the rules to a file so I could add the relevant ones back later:
$ sudo iptables-save > ~/iptables-rules
Then I ran these rules to effectively disable iptables by allowing all traffic through:
$ sudo iptables -P INPUT ACCEPT
$ sudo iptables -P OUTPUT ACCEPT
$ sudo iptables -P FORWARD ACCEPT
$ sudo iptables -F
But there is even one more step, if you want such firewall rules to persist after reboot. You need to have iptables-persist installed and run the following command as root user:
iptables-save > /etc/iptables/rules.v4
More details here:
Step 4: install NKN Commercial via NKNx Fast Deploy
After you register and log into nknx.org, and from left menu select Fast Deploy, you will be able to do a custom deploy. All you need to provide is the Beneficiary Address, which is the wallet you created somewhere else and will be used to collect all mining reward as well as commercial service rewards. A unique script will be generated, so yo can copy/paste into your Linux console. Something like below, but remember to add sudo before the bash shell command towards the end of the script:
wget -O install.sh 'https://api.nknx.org/fast-deploy/install/fb36e246-8594-4530-98d6-e17510abe55e/linux-amd64/OCL-SJ2’; sudo bash install.sh
Now sit back and relax: it will take 5-10 minutes to complete. The script includes downloading a recent snapshot of pruned blockchain database, which will save you tons of time to sync up to the latest block.
Once it is successfully completed, you should see something like this:
                                  -----------------------
                                  |   NKNx FAST-DEPLOY  |
                                  -----------------------

=============================================================================================
   NKN ADDRESS OF THIS NODE: NKN*********************
   PASSWORD FOR THIS WALLET IS: *********
=============================================================================================
   ALL MINED NKN WILL GO TO: NKN*****************
   (FIRST MINING WILL BE DONATED TO NKNX-TEAM)
=============================================================================================

You can now disconnect from your terminal. The node will automatically appear in NKNx after 1 minute.
Step 5: Success!
Now if you log into nknx.org miner portal, you should be able to see your newly deployed NKN Commercial node on Oracle Cloud, “Syncing”. After a while, it should sync up to the latest blockchain height and reach “Mining” state.
