Since the launch of ChatGPT, its technology and convenience have sparked a global craze, and the voices calling for AI to replace various industries have grown louder and louder. However, this has also given birth to many industries that may emerge in the future. While embracing technology, we still need to consider internet security and the problem of centralized abuse of power. Currently, although ChatGPT has been hailed as a benchmark, it is essentially a centralized server, and some of its related interface content is still transparent to certain developers. The security risks in the early stage are not yet apparent, or there is no one strongly opposed to it. However, it is predictable that these will be contradictions in the future:
-
Transparent content, your related questions and answers are transparent to some people, and your privacy, preferences, and personal issues may be exploited by unscrupulous people.
-
In addition to the risk of malfunctions, centralized servers may also lead to differentiated services due to different factors such as geographic location.
-
Non-self-training machines may be dominated by subjective ideological orientations, and if the content provided by AI is controlled by some groups in the future, it may provide guided answers.
By contrast, the benefits of self-training AI are just the opposite in these areas:
-
When used in conjunction with nConnect transmission, the content is completely confidential, and you don’t have to worry about your personal questions and preferences being monitored.
-
Multi-node servers can ensure that remote use will not cause service downtime due to single-point failures.
-
Self-training machines can cultivate the personality and conversation content required by companies or individuals based on business needs.
The following is a detailed process for setting up the server:
Overall, the operation is divided into two steps:
A. Establishing access to the external network from your local machine (mapping the internal network environment to the public network), which is achieved through nConnect.
B. Installing the AI language on the computing terminal (generally a computer or server equipped with a high-performance graphics card), taking ChatGLM as an example.
A. Set up access to your machine from outside network:
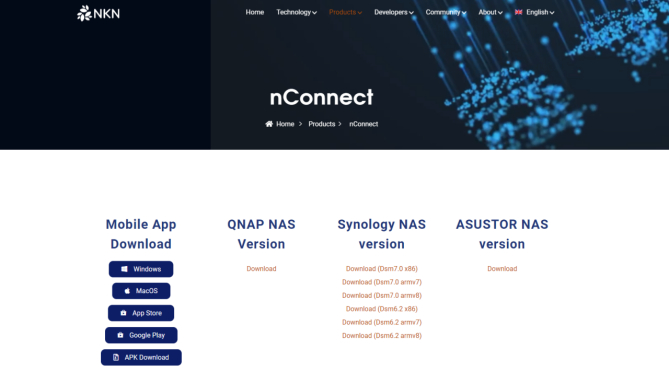
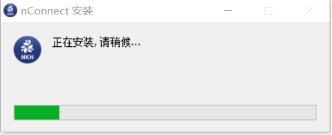
- Install the nConnect server-side and client-side software via the official link
(https://nkn.org/products/nconnect/)
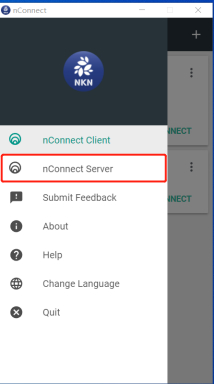
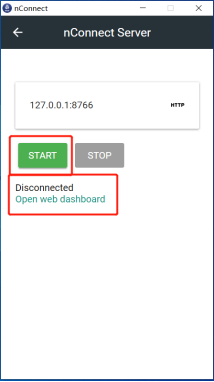
- After installation, click on the nConnect Server, then click on “start”, wait for the status to change to “Connected”, and finally click on “Open web dashboard”.
- After opening the nConnect web page, use the QR code scanning function on your mobile phone (the middle icon or the icon in the upper right corner) to connect and synchronize configuration settings.
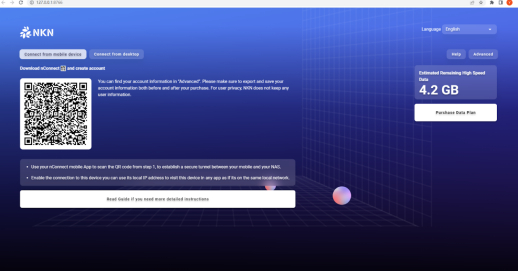
(Web)
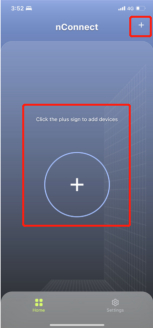
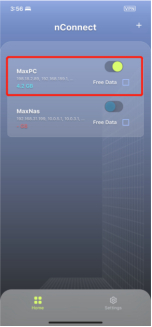
(Mobile)
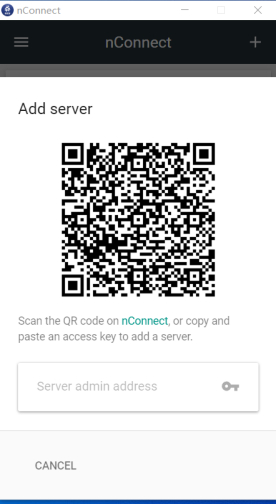
(On the PC side, click on the upper right corner to display the QR code. Then use your mobile phone to scan the code and synchronize the settings.)
-
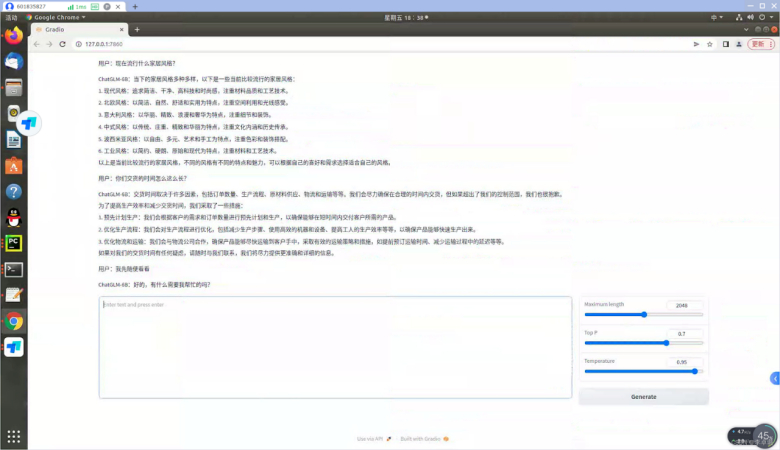
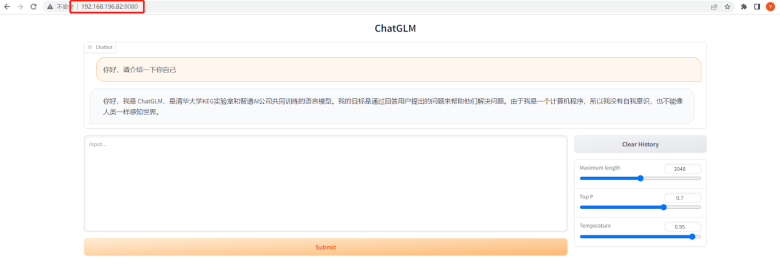
If you have already completed the installation of ChatGLM, please skip to step 8 of section B. Modify ChatGLM to make it accessible from your local network. Then you can access your self-built AI language model from an outside network by using the internal IP address and port number provided by nConnect.
-
Once the setup is successful, you can use the internal IP address and port number to access ChatGLM from an outside network.
B. Installing the AI language on the computing terminal:
To install the AI language on your computing terminal, please follow these steps:
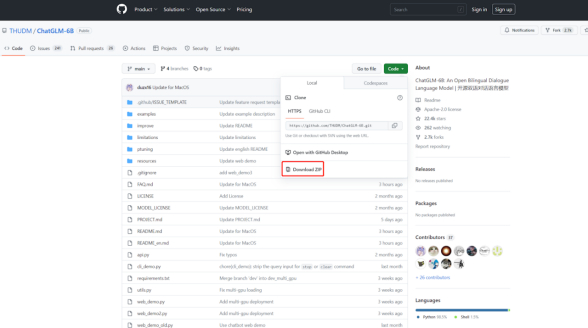
- Download and install Anaconda or Miniconda from https://github.com/THUDM/ChatGLM-6B
- Download miniconda to set up the basic algorithm environment.
This is used to manage Python versions and can implement multiple versions switching of Python.
Download link: https://docs.conda.io/en/latest/miniconda.html
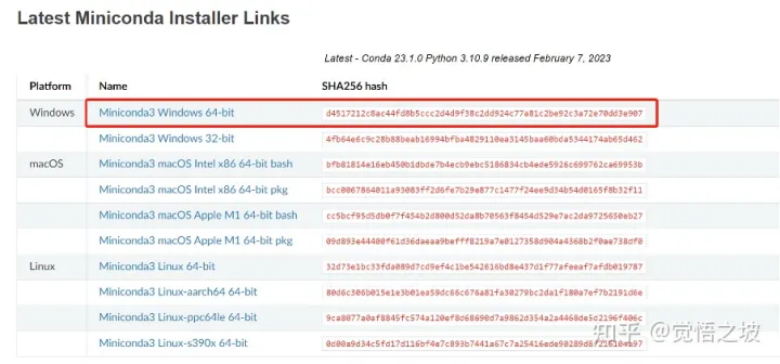
When installing, just keep clicking “next” using the default options.
- Open minicoda
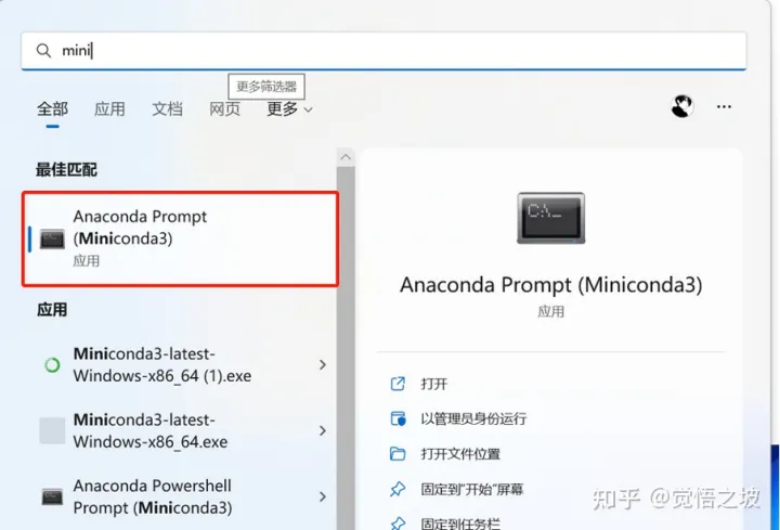
(Start - type “mini” - find and open “miniconda3”)
Entering
conda -V
The appearance of the version number indicates successful installation.

- Install CUDA.
CUDA is a dependency program used by NVIDIA graphics cards to run algorithms, so we need it.
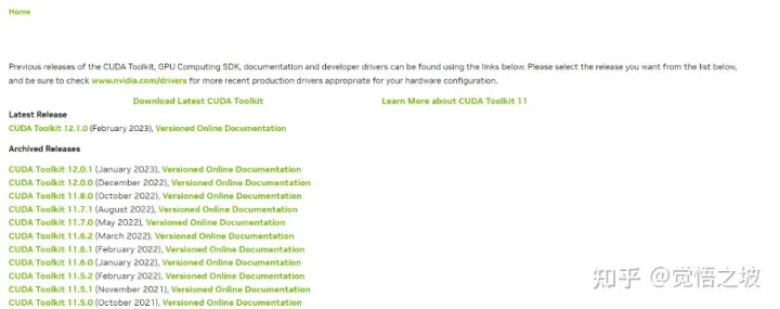
Open the NVIDIA CUDA website, http://developer.nvidia.com/cuda-toolkit-archive
(If you cannot open the webpage, try using a VPN.)
You will find many versions of CUDA, but which one should you download?
Go back to the Miniconda prompt and enter:
Nvidia-smi
to check your CUDA version.
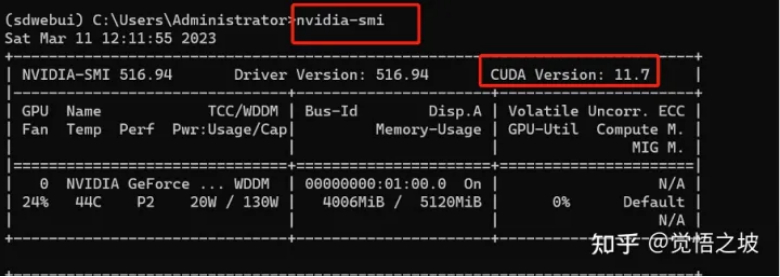
(When entering “nvidia-smi”, you may see the error message “‘nvidia’ is not recognized as an internal or external command, operable program or batch file”. In this case, make sure that you have an NVIDIA graphics card. If you do, check that your graphics card driver is up to date using software such as Driver Genius or Driver Booster. If updating the driver does not work, add C:\Program Files\NVIDIA Corporation\NVSMI to your system environment variables.)
For example, if my CUDA version is 11.7, I can download version 11.7.1.
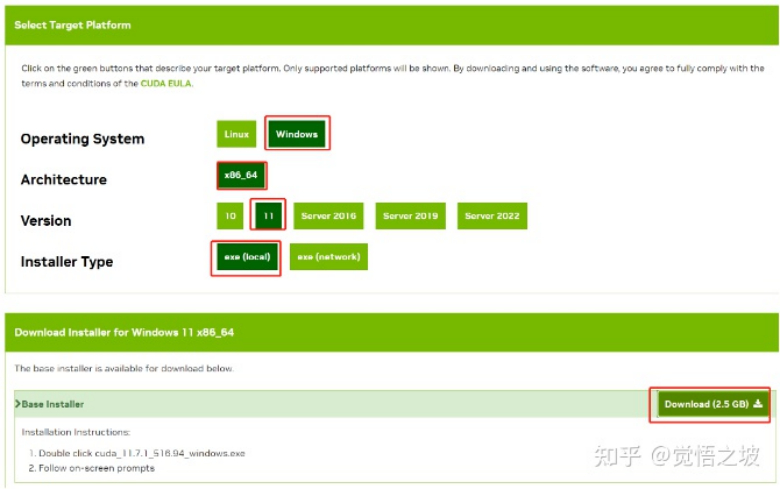
Download and install the version for your operating system, such as Windows 10 or 11, and select “exe local” and “download”.
After downloading, install the software. It is over 2GB in size and can be installed outside the C drive, such as the D drive, to save space on the system drive.
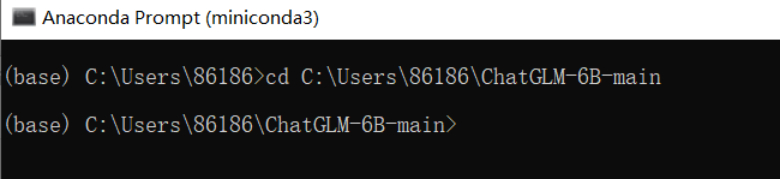
- Change directory (cd) to the folder you just downloaded
(For example, in my case it would be “cd C:\Users\86186\ChatGLM-6B-main”, please replace it with your own folder path.)
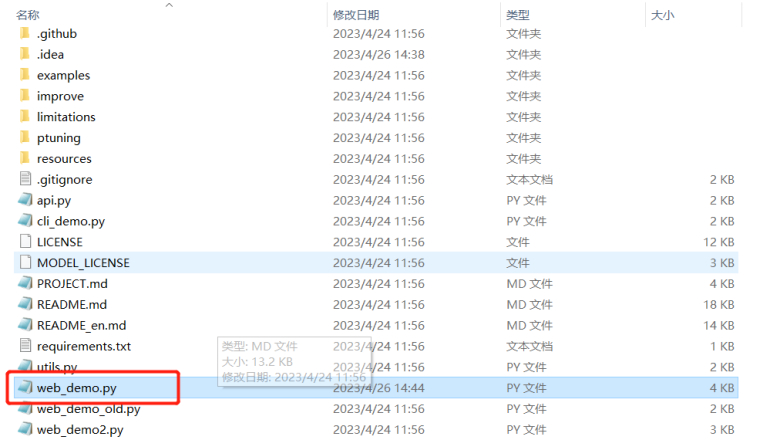
- Find the file “web_demo.py” in the directory and open it with Notepad.
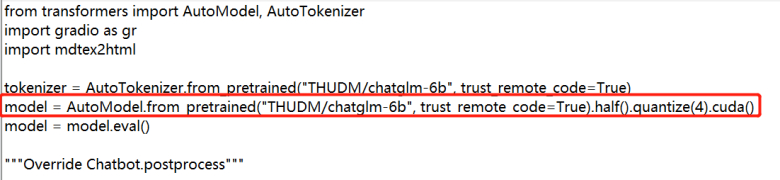
Adjust quantization version. If your GPU memory is larger than 14GB, you can skip this step. If your GPU memory is only 6GB or 10GB, you need to add quantize(4) or
quantize(8) to the 5th line of the code, as shown below:
6GB GPU memory can use 4-bit quantization model = AutoModel.from_pretrained(“model”, trust_remote_code=True).half().quantize(4).cuda()
10GB GPU memory can use 8-bit quantization model = AutoModel.from_pretrained(“model”, trust_remote_code=True).half().quantize(8).cuda()
The modified code is shown in the figure below.
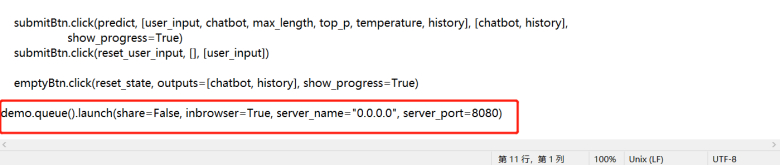
Open access to LAN, and directly go to the last line of web_demo.py and add the argument server_name=“0.0.0.0”, server_port=8080 (experienced users can modify the port number themselves).
-
If you have completed the installation of nConnect at this point, you can directly use Chatglm on the intranet through nConnect connection from the external network. Please refer to Step 4 of Section A for details.
-
To create and activate the chatglm environment for execution, run the following commands:
conda create -n chatglm python==3.8
conda activate chatglm
- Install the dependencies and execute the command with:
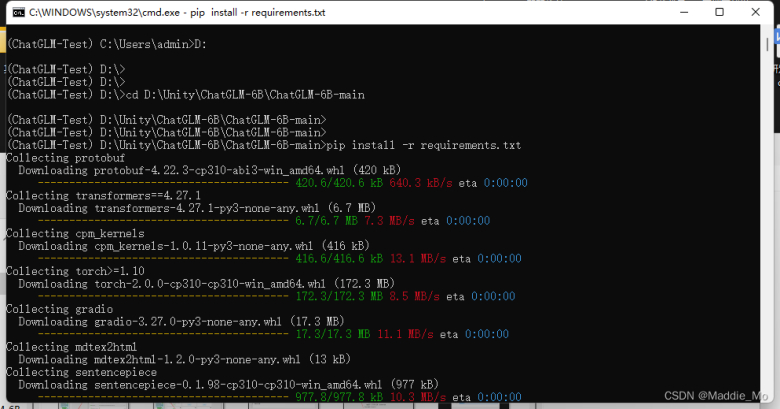
pip install -r requirements.txt
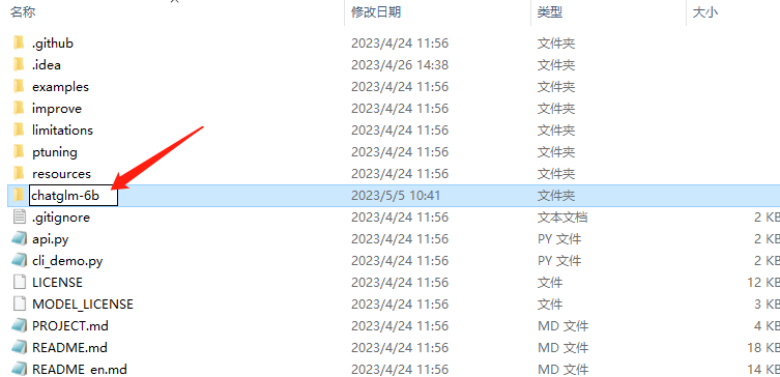
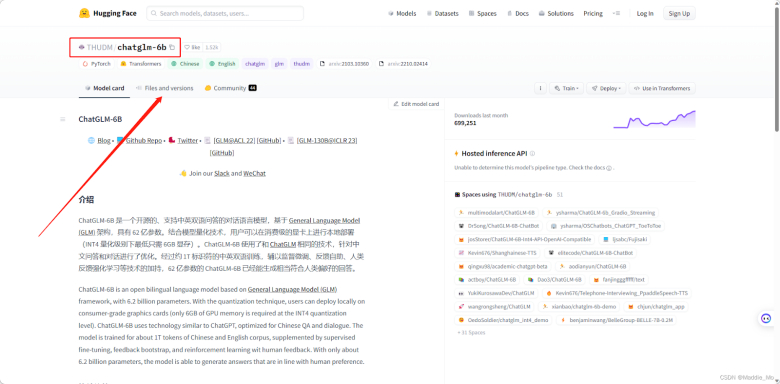
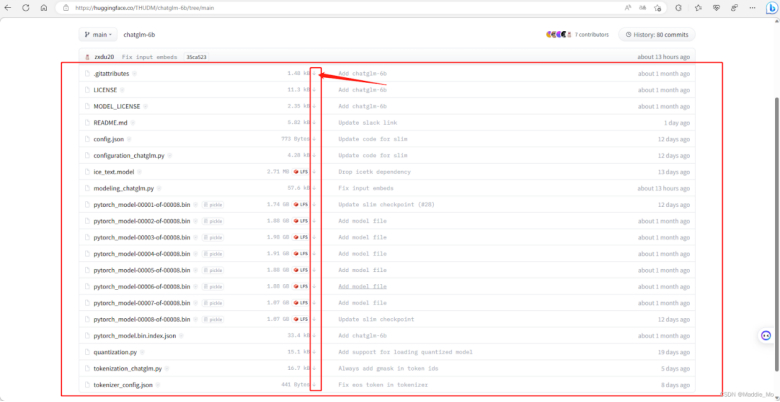
- Create a folder named “chatglm-6b” and add the trained model to it (download link: https://huggingface.co/THUDM/chatglm-6b).
- Load the transformers and protobuf libraries.
Download and install the protobuf and transformers libraries by running the following command:
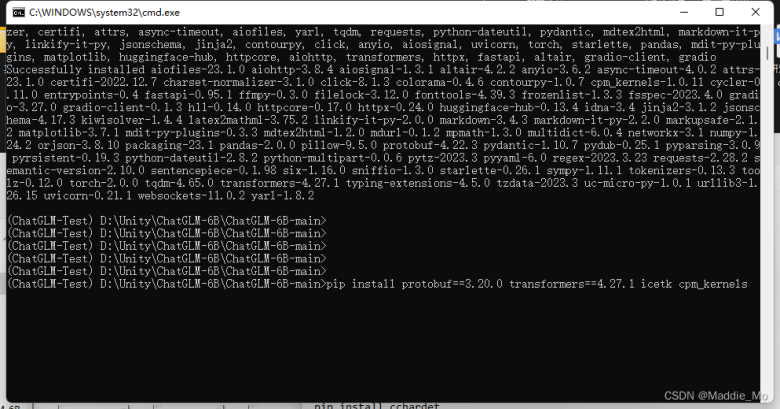
pip install protobuf==3.20.0 transformers==4.27.1 icetk cpm_kernels
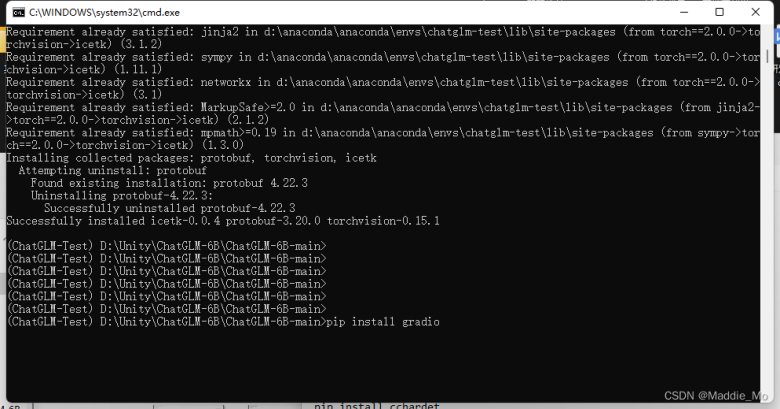
Install PyTorch with CUDA support by running the following command:
pip install torch==1.12.1+cu113 torchvision==0.13.1+cu113 torchaudio==0.12.1 --extra-index-url https://download.pytorch.org/whl/cu113
Install additional libraries by running the following command:
pip install rouge_chinese nltk jieba datasets
- Load the Gradio library by running the following command:
pip install gradio
Install additional dependency libraries by running the following commands:
pip install chardet
pip install cchardet
- Run the command “python web_demo.py” to execute the code.