
If you accidentally enter this page in advance, you can use nConnect from the basic first.
nConnect (下载以及教程) Download & User Manual
Start
First, install the nConnect server client on any machine in the local LAN environment.
NAS: nConnect (下载以及教程) Download & User Manual
PC / MAC: nConnect Client For MAC & Desktop( nConnectMAC 版、桌面版客户端)
others: https://github.com/nknorg/nconnect/releases/tag/v1.0.7
(Between First and Second:
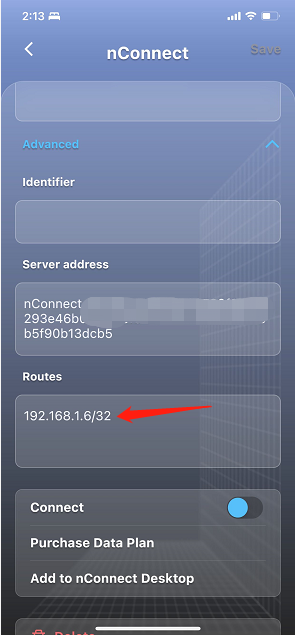
If you downloaded nConnect mobile client, you can change the mask after you connected to your nConnect server client:
Advanced==> Routes 32==> 24 Save
 )
)
Install the nConnect client version on GitHub: https://github.com/nknorg/nconnect/releases/tag/v1.0.7
(nConnect PC/MAC client version can only be opened by command line, where you can download on github as the same link.)
Second, unzip it and open it with terminal (MAC) or powershell(PC with admin)
then, cd to your folder.

Third, get your local public key:
Get your local address first with this command:
sudo ./nConnect -c --address

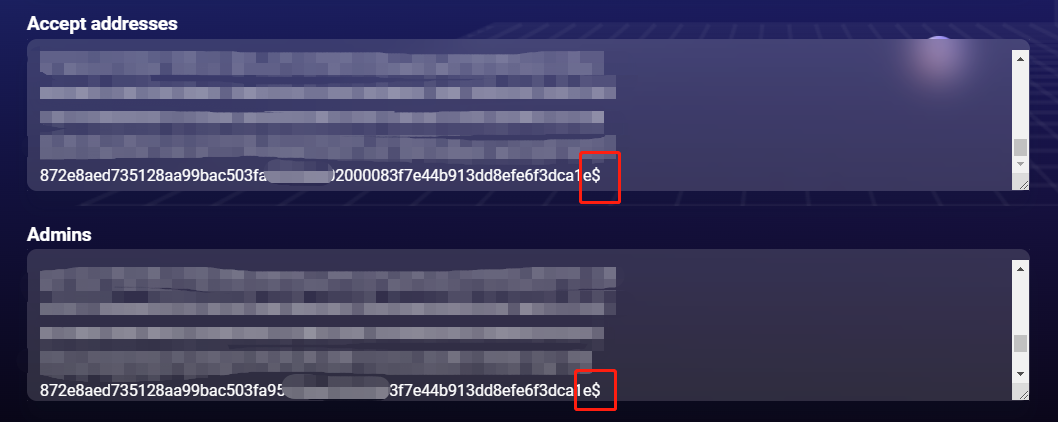
Open your nConnect Server client, add your public address into “Accept Address” and “Admins” ,
remember to add $ behind your public address then save.
Copy your Access key in the server client dashboard, you will need it later.

For Example,
sudo ./nConnect -c -a admin.mp883d.5501e3dddf9e5bebe8****************7b7dbd819c7f228d77bcf2a --vpn --tuna

After knowing your local IP, please add “ --vpn-route=Your local IP/24 “,then your subnet mask will be changed to 24, and the your C-end domain can be accessed.
For Example,
sudo ./nConnect -c -a admin.mp883d.5501e3dddf9e5bebe8****************7b7dbd819c7f228d77bcf2a --vpn --tuna --vpn-route=192.168.21.100/24

Finally,if you can see that “adding route 192.168.21.0/24” , it means success.