
Most smart home devices’ protocols are modified by their own vendors. If you want to access it from the outside internet, you must install the manufacturer’s APP. However; the combination of smart home devices usage cannot be achieved.
Fortunately, Home Assistant (https://www.home-assistant.io/) is an open source platform that can coordinate various systems and devices, and it supports more refined customization, which can choose different control actions according to date, location, and weather.

Another important function of Home Assistant is that the plug-in “Home Bridge”“Home Bridge” can forward various devices api such as Google Nest, Xiaomi, and MQTT to Home Assistant, thereby completing the centralized controlling of smart home devices. After all, one smart home system cannot fully cover all the devices. In order to break through this barrier, a third-party program must be used.
What kind of people need HA? If you want your smart devices to be more “smart” and they can be controlled in only one panel even though they are from different vendors, or those who desperately need this function and can accept those shortcomings like complicated.
- Install Home Assistant
Home assist are available for all platforms.
Home Assistant Operating System: Install the HA-cured system directly on the host, generally install a low-power physical machine such as a Raspberry Pi or a VM virtual machine;
- Home Assistant Container
Run Home assist in the Docker container environment. You do not need to assign any separate host or virtual machine.
- Home Assistant Supervised
The most comprehensive direct installation requires and complicated settings;
- Home Assistant Core
Add the system to the specified host, you need to install the corresponding dependencies and configure the Python virtualization environment.
If you are installing the Home Assistant service on a NAS, it is best to choose container mode or system mode. The author chose the container mode to install, configure and manage HA Docker through the Container Station that comes with QNAP. Search for HomeAssistant in Container Station and select the first instance to install.
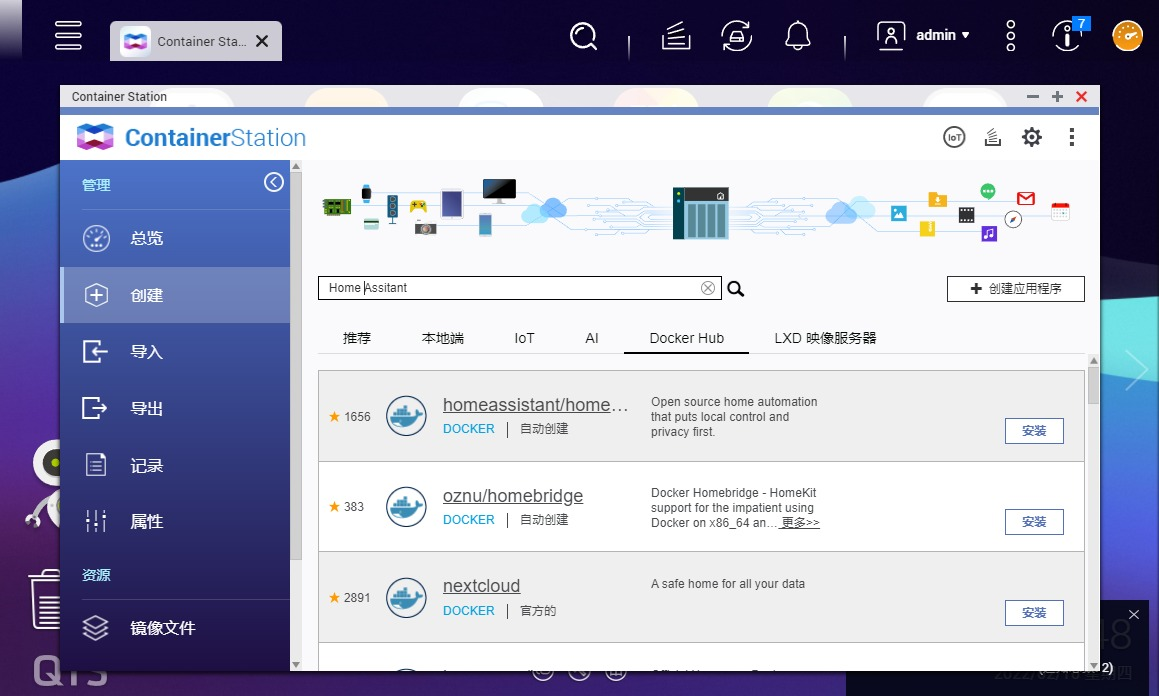
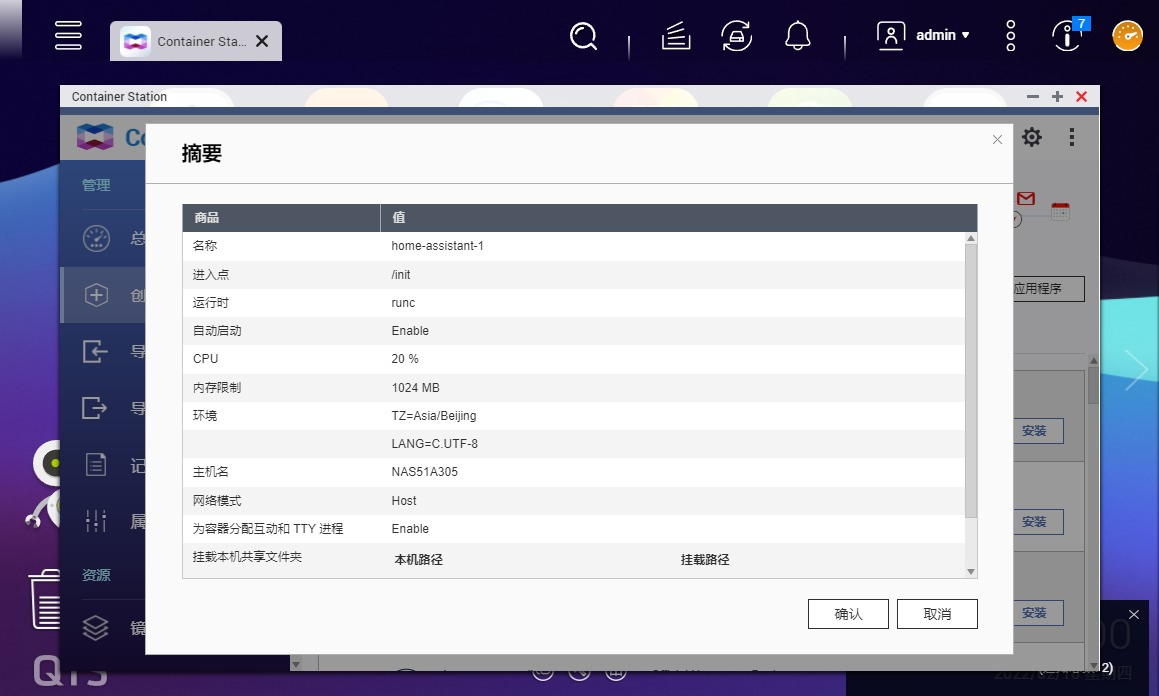
After selecting the latest version, you can make some specific settings. The basic settings only need to allocate CPU and memory. Generally, 20% of CPU and 1024MB of memory are enough to support the operation of HA.

Enter the advanced settings. First, set the time zone in the environment, select your location.
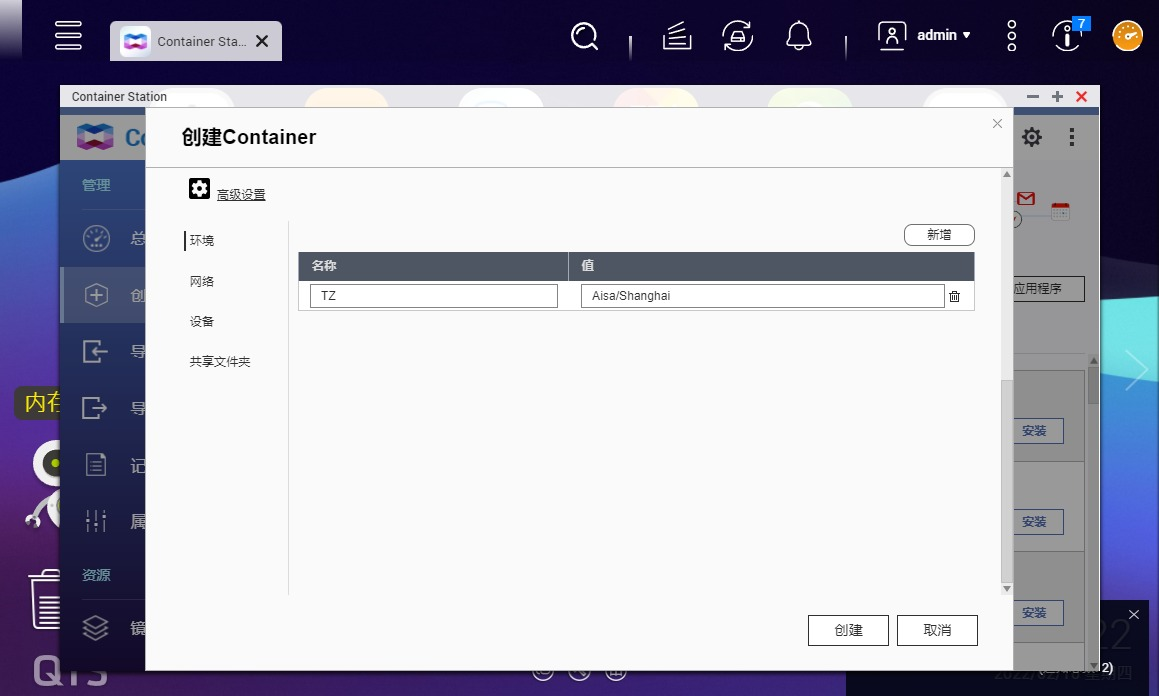
Home Assitant needs to use port 8123. If this port of the NAS is not occupied, you can directly select the Host mode.

Finally, configure the shared folder and mount path, and the HA setting file will be generated under it.
The installation process is related to the network situation. If the progress has been stuck, it is recommended to check the specific network situation.
Local IP Control test
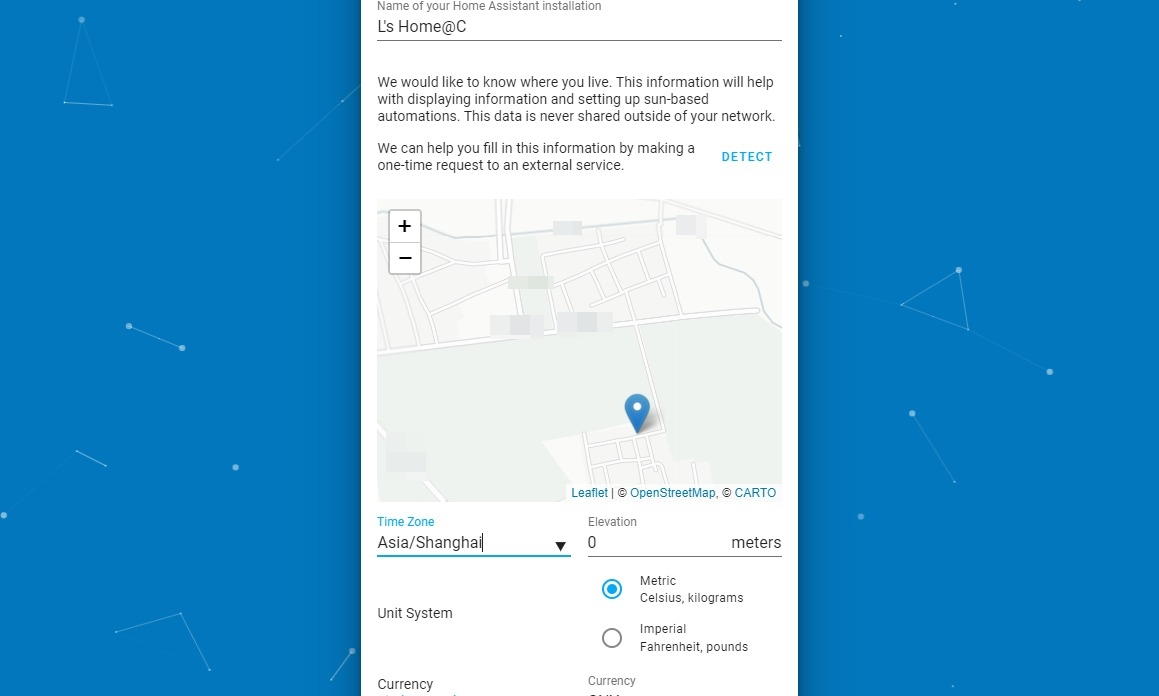
After the installation is complete, enter the local IP + port number of the NAS to enter the Web management interface of Home Assistant. The first time you use it, you need to set the account password.

After creating the account password, you only need to set the information such as the geographical location or devices. After setting this information, you can set up automation rules to perform your electrical devices’ actions when you are not home.
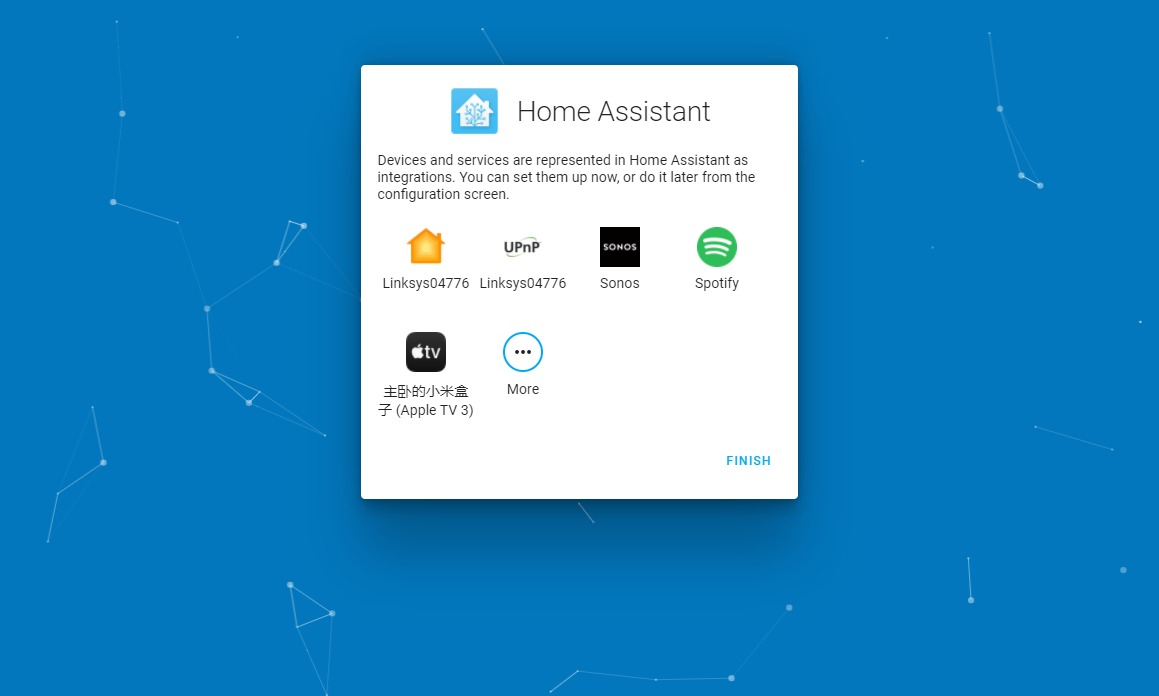
After completing these settings, you can directly add smart devices. Personally, I recommend that you leave it alone here now. You can set it one by one after you enter the home assistant management page.
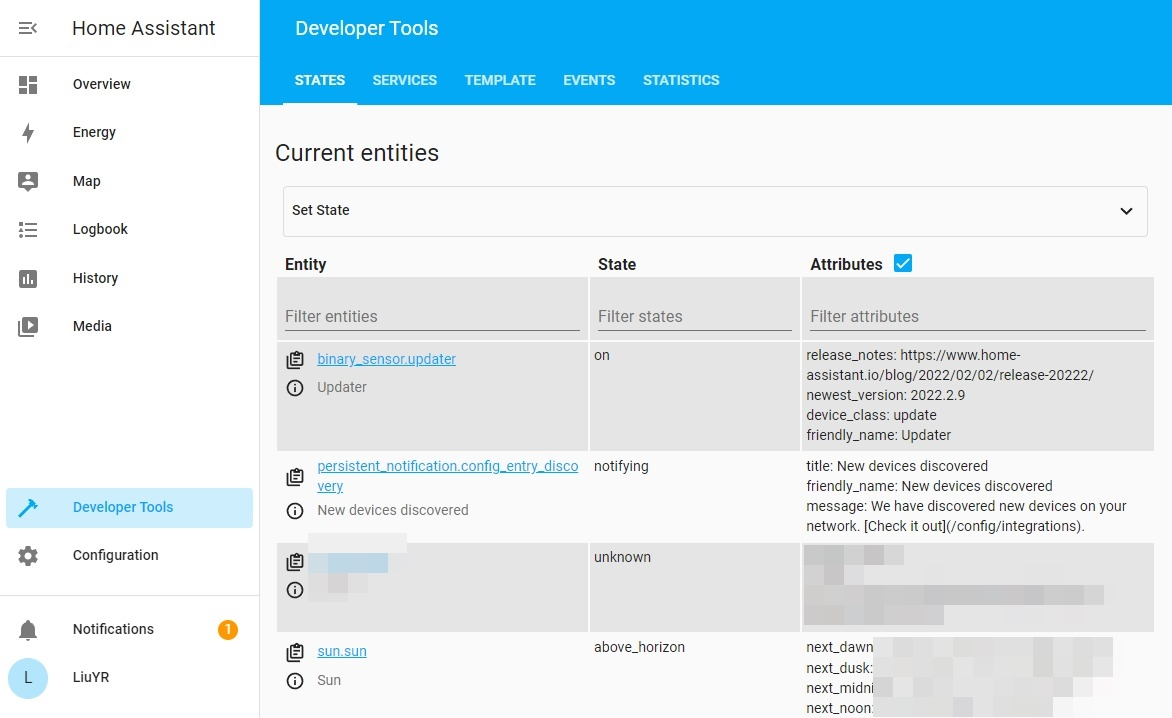
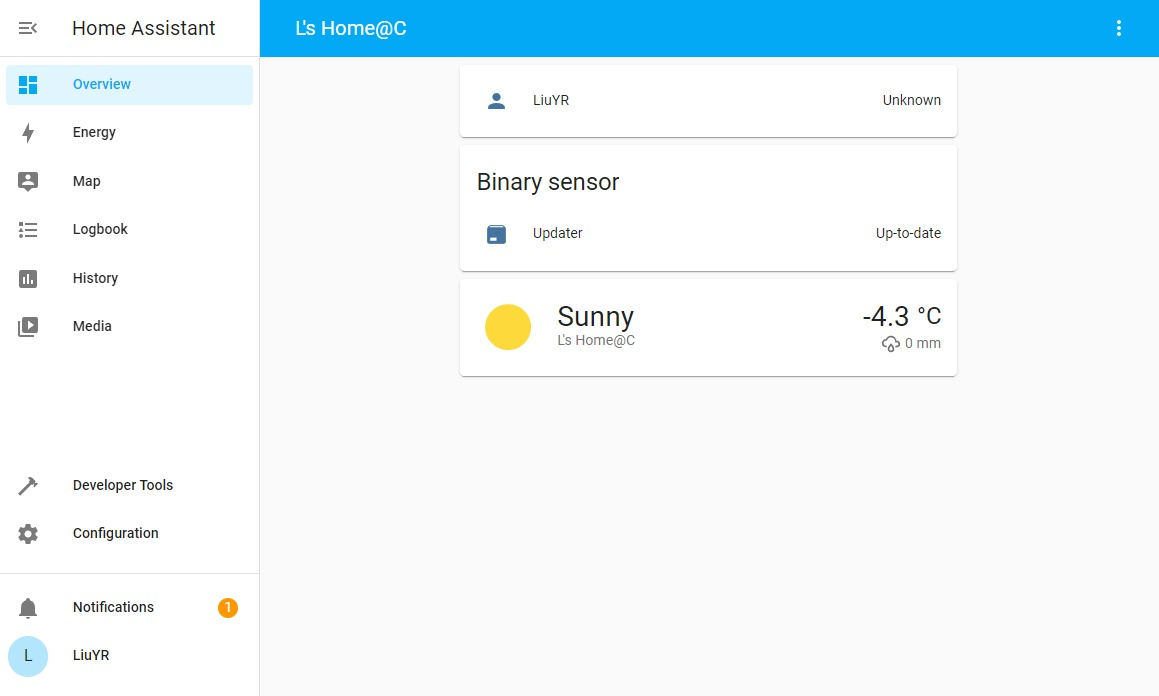
After completing these settings, you can enter the Web management interface. The display language is determined by the default language of the browser, and the interface language can be modified separately.
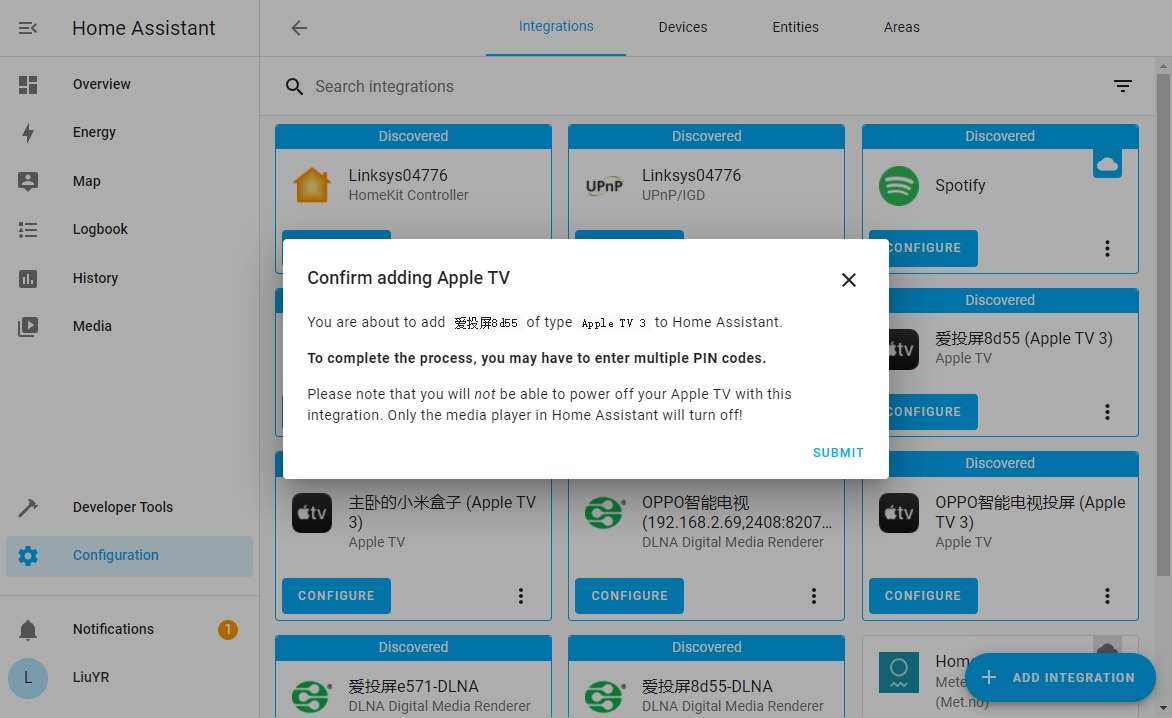
Next, you can add devices one by one. The addition of each device needs to be matched by PIN code.
Remote control without public IP
If you don’t have public IP, it is certain that penetration service is necessary. The penetration service reverse proxy the Web management page of Home Assistant to the public network, and remotely control the hardware connected to the HA in the home.
However, many penetration tools have several problems:
First, they basically need to rely on a separately configured transit server to complete the penetration, you will need to pay for it and cost a lot of effort.
Second, the performance is limited by your network bandwidth. Even though everyone can accept paid services, as long as the service is stable, most of the vendors that can provide stable penetration services generally cost a lot and users have to pay by the client on a monthly and yearly basis.
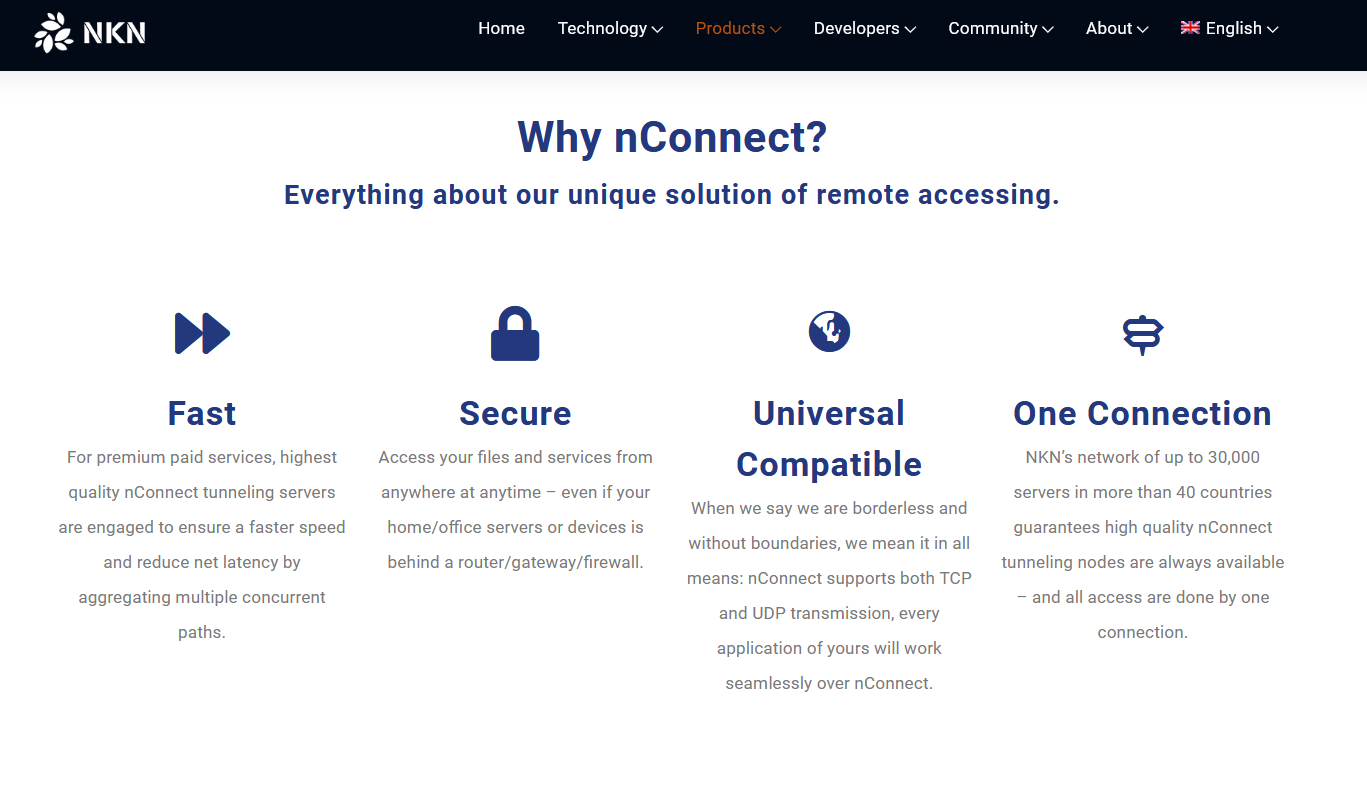
A penetration service based on blockchain was discovered: nConnect.
It perfectly bypasses these two shortcomings:
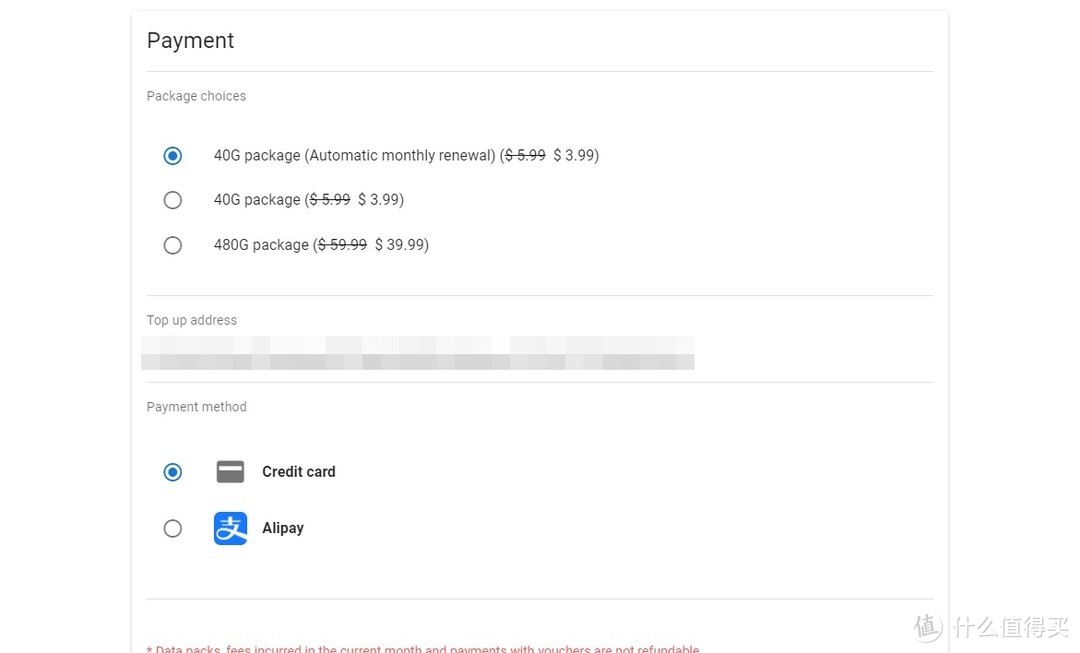
- paying ¥25 to get 40G of permanent traffic
- NKN combines node bandwidth so users could make use of their highest bandwidth.
So how could we install and use nConnect?
It is very simple, you only need to install the corresponding image through Docker, but the image in the Container Station is not available, you still need to manually pull the corresponding nConnect image.

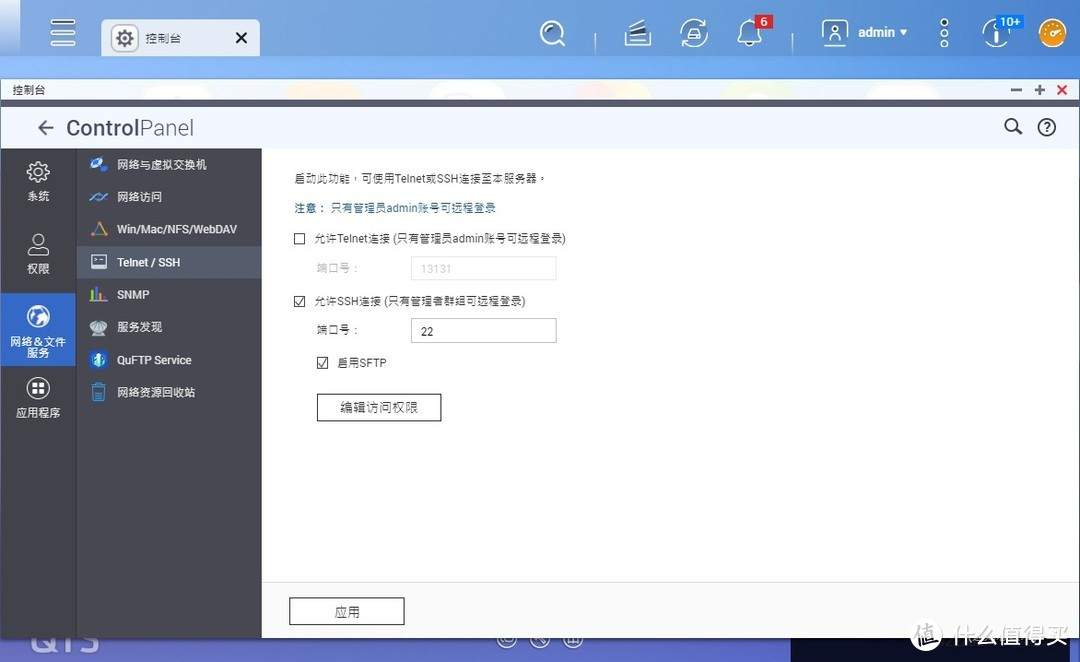
First, you need to SSH to the NAS device, so remember to open the SSH login permission and set the port.
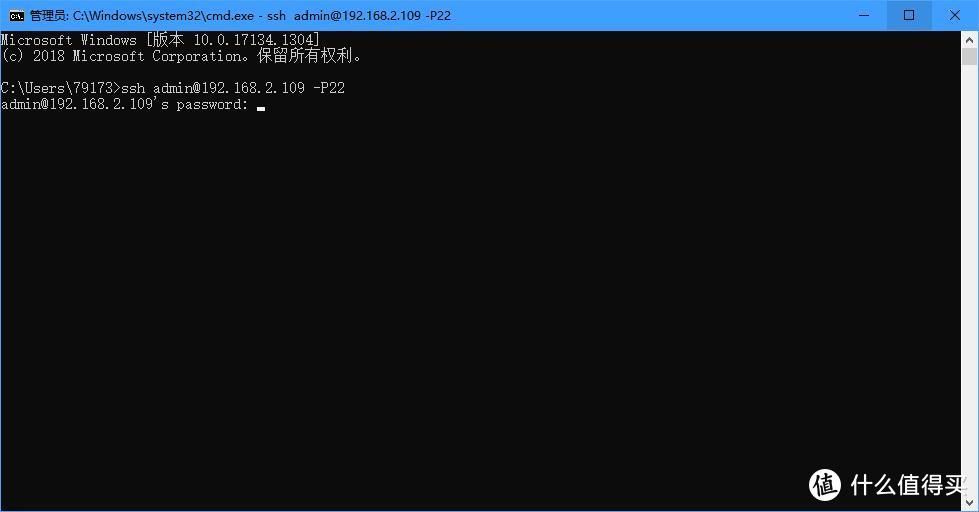
Similar to the settings of the OpenWrt router, you can directly use CMD to enter the following code and then enter the password.
ssh [email protected] -P22
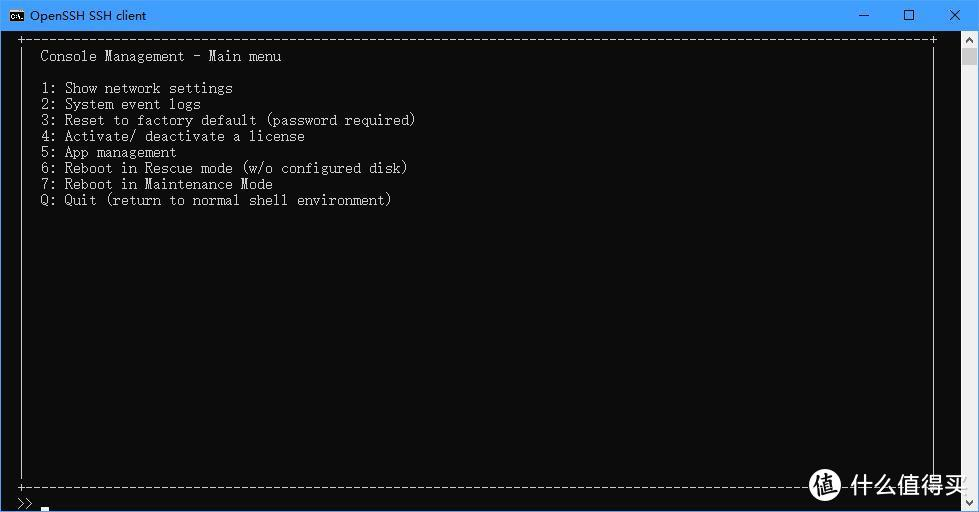
QNAP TS-451D will be pulled directly to the main setting menu after logging in. We can enter Q and then enter Y to exit this guide page.
 After that, you can pull the nknorg/nconnect image, enter the following code and press Enter
sudo docker pull nknorg/nconnect
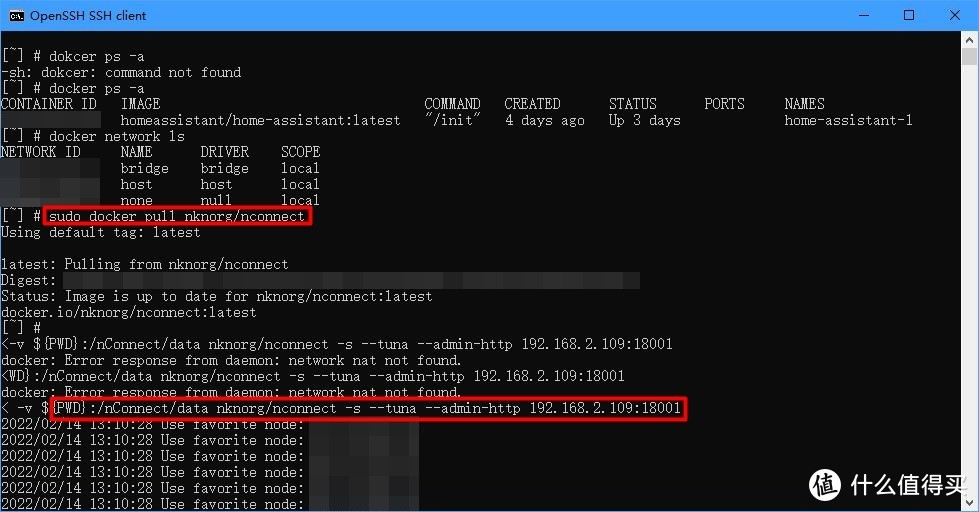
After the image download is complete, you can start the service, continue to enter the following code and press Enter to wait for the loading. Note that the mirrored IP corresponds to your NAS intranet IP, and the port needs to avoid the used port of the NAS and other services. If you need a background application, you can add the -d parameter after dokcer run.
sudo docker run --rm -it --net=host -v ${PWD}:/nConnect/data nknorg/nconnect -s --tuna --admin-http 192.168.2.109:18001
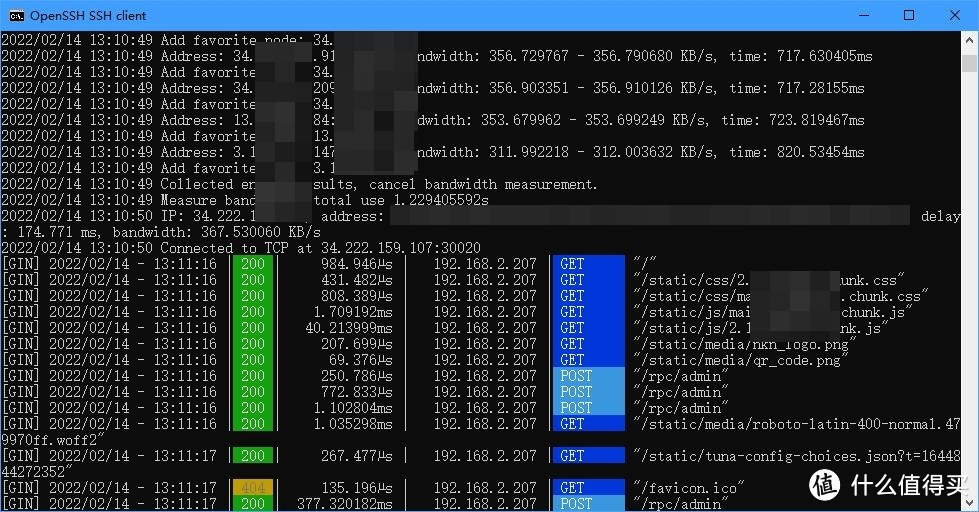
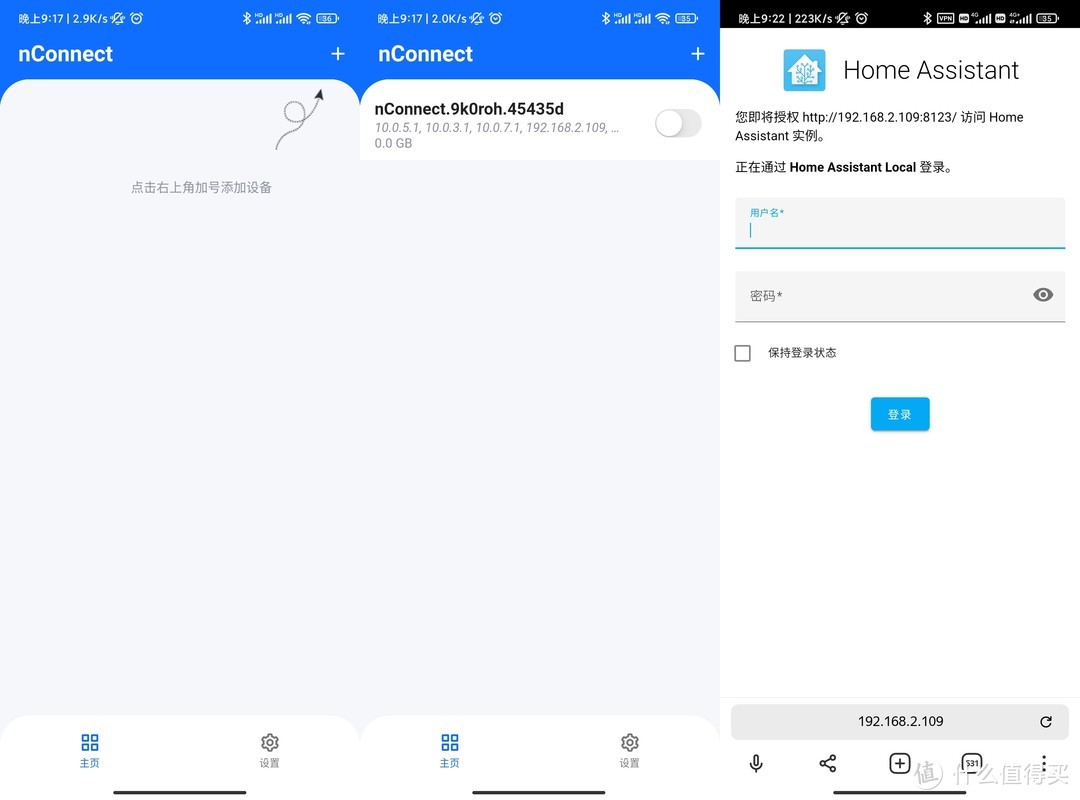
After that, you can open the management page through the set IP + port, download the mobile client and scan the QR code to add it.
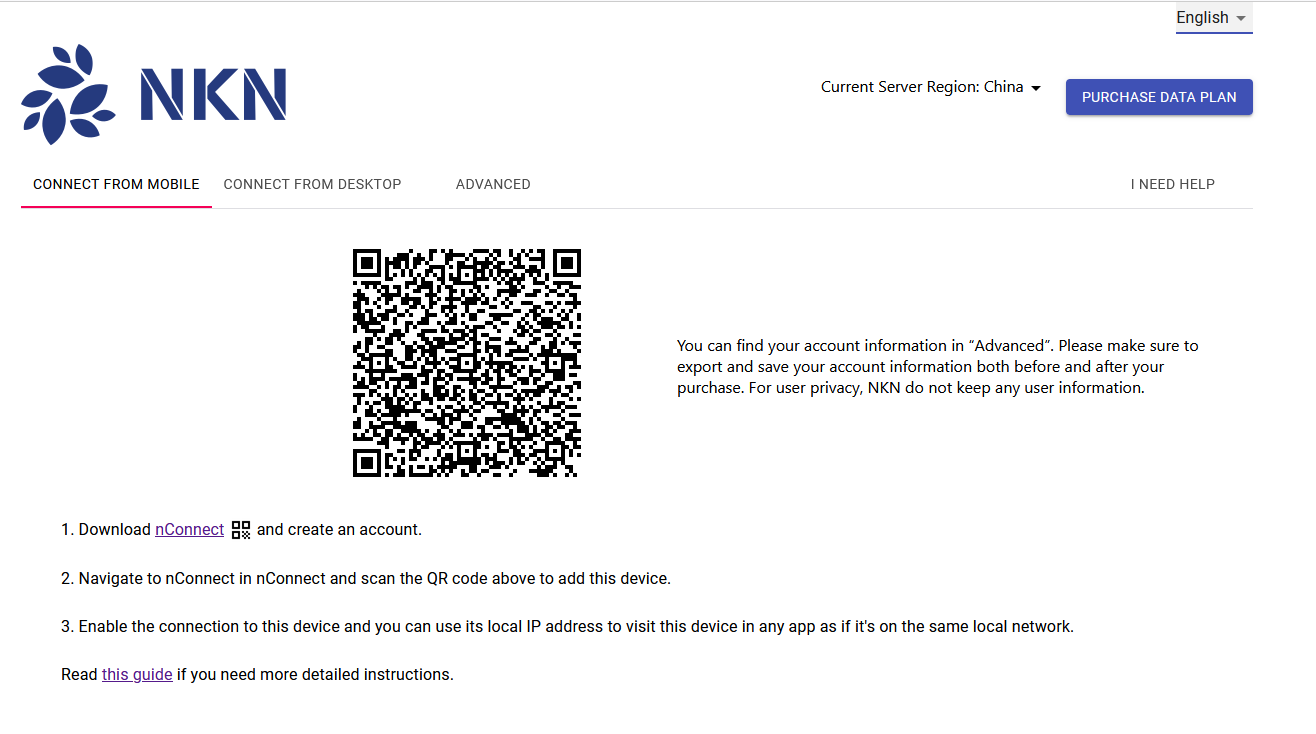
You can pay by credit card and Alipay, the price is 40G discount $3.99, or 40G discount ¥25. All purchases are permanent traffic, and traffic is deducted based on actual usage. Of course, you can try it first without paying.
Because of the decentralization mechanism of the blockchain, account information can only be stored locally, so we need to export the account first. Account is an x-digit hexadecimal string, never reveal it to others.

After scanning the code to add a node, open the main node, you can open the proxy, and complete the remote access to the host and other services of the same IP port. As shown in the figure, we can directly use the LAN IP + port to open the HA web management interface in the traffic environment.
.