
Intro:nConnect Remote control is still an internal beta version for now, and the processs is still a little complicated. If you have any questions or suggestions on simplifying the steps, you are welcome to leave a message directly to NKNer 
The overall operation consists of three steps:
- Download nConnect for your host and execute it as the nConnect server.
- Using your client to establish transmission channel.
- Complete remote connection.
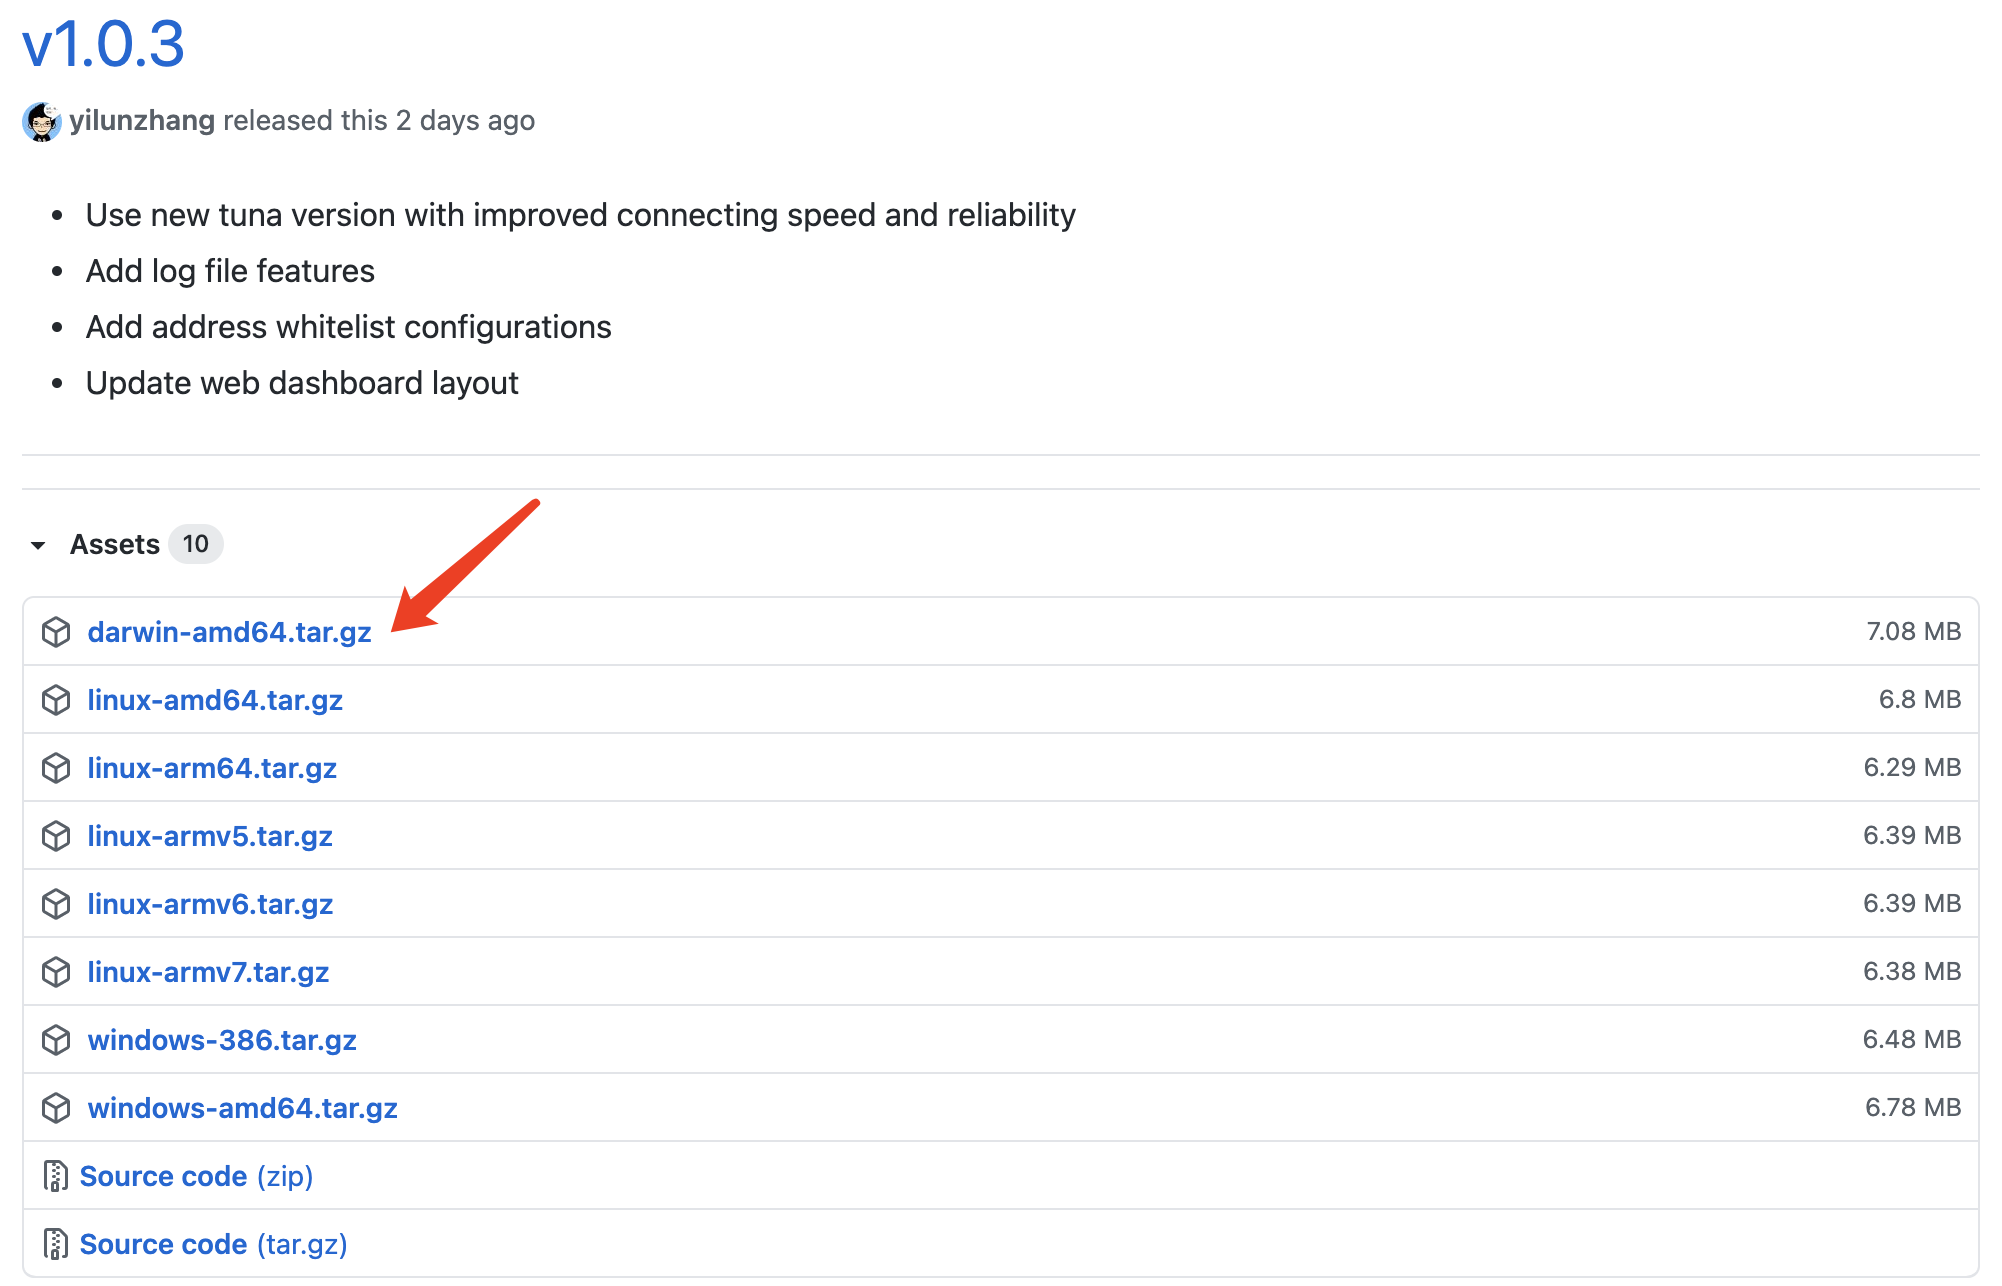
Download nConnect to the location you specified through this link:
1.2 After decompressing the file, open “terminal” on your MAC and enter
cd “file storage location”
1.3 Then enter
sudo. / nconnect - s – tuna – admin http 127.0.0.1:8001

1.4 Keep the termianl dialog box during using Connection
1.5 Open http://127.0.0.1:8001 with your browser . After this page appears, follow the instructions on the page.
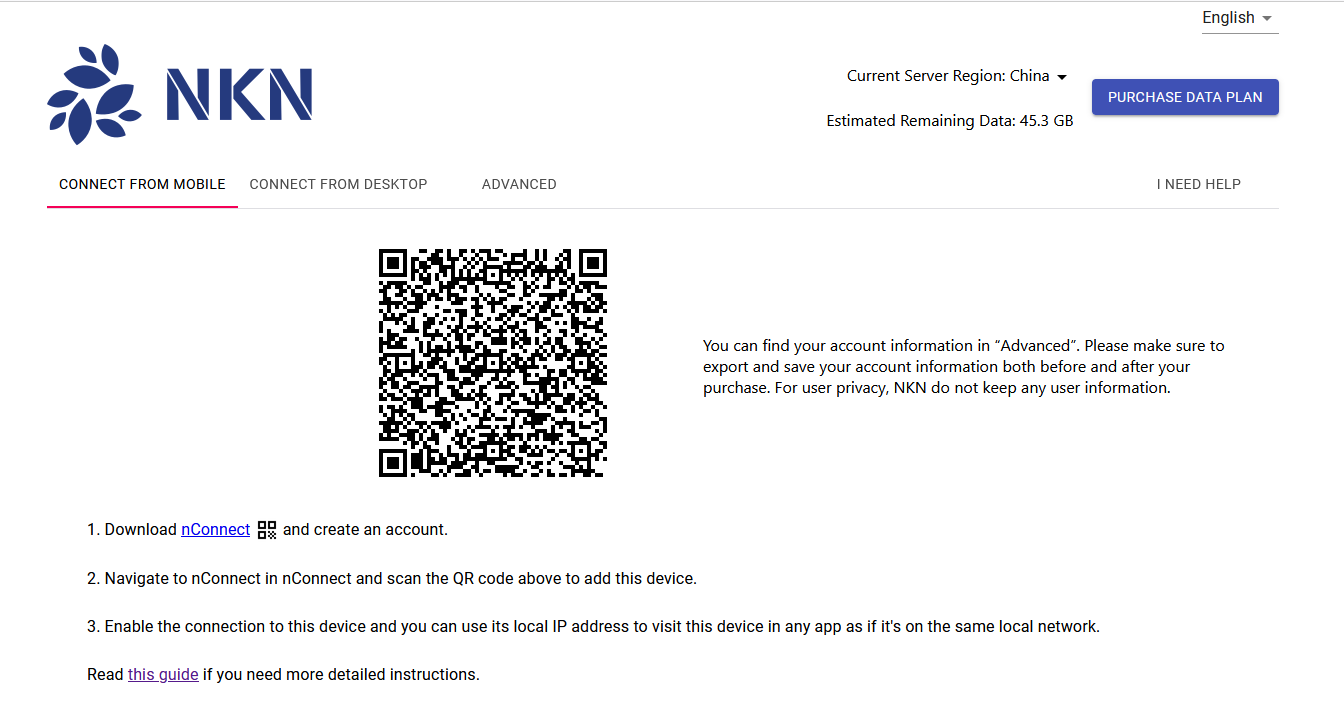
2.1 Establish transmission channel with client:
According to the guide, after scanning the code link, keep nConnect executing in the background (do not close). At this time, the connection channel has been established.
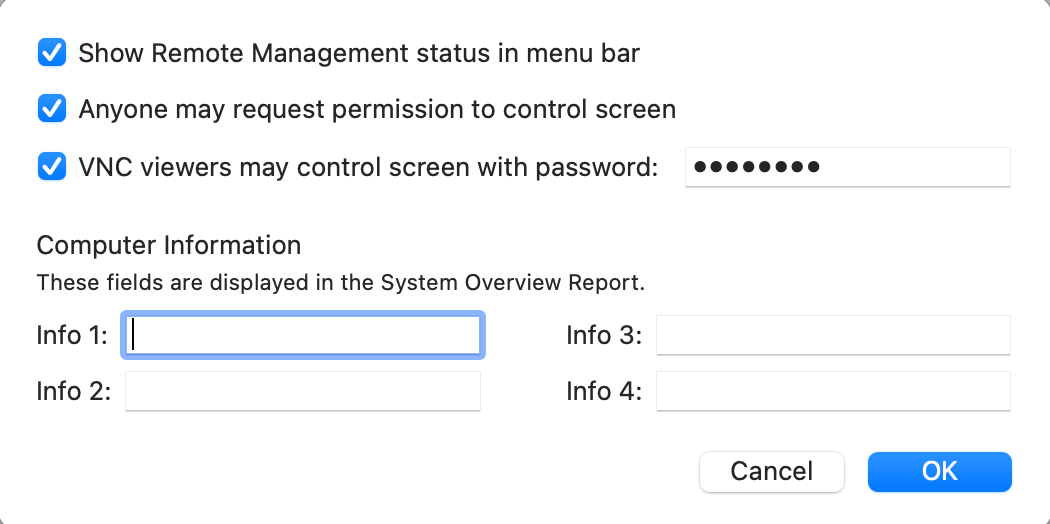
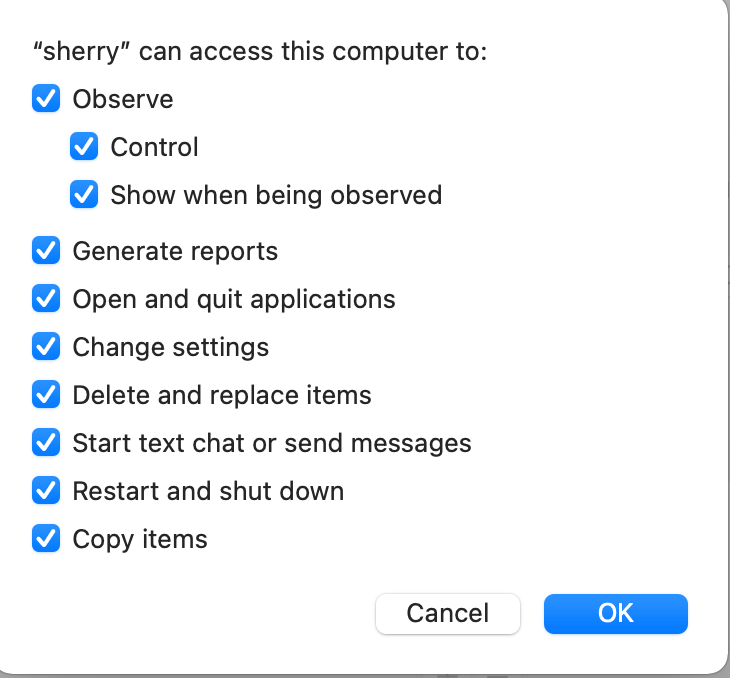
2.2 Setting the host MAC VNC
(it is recommended to click the same in the configuration)
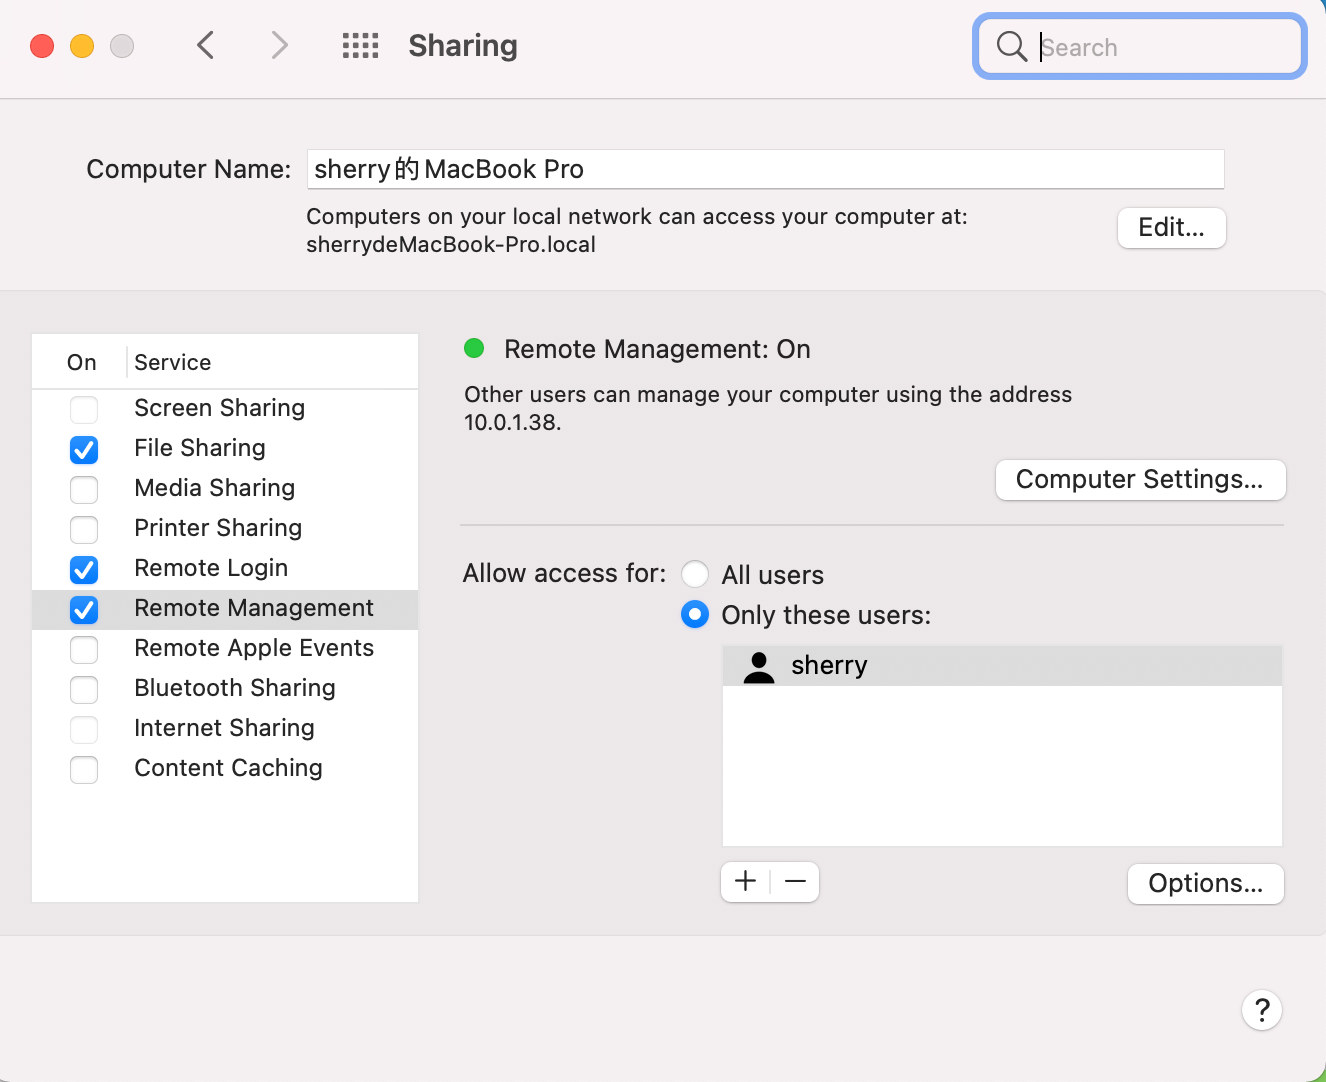
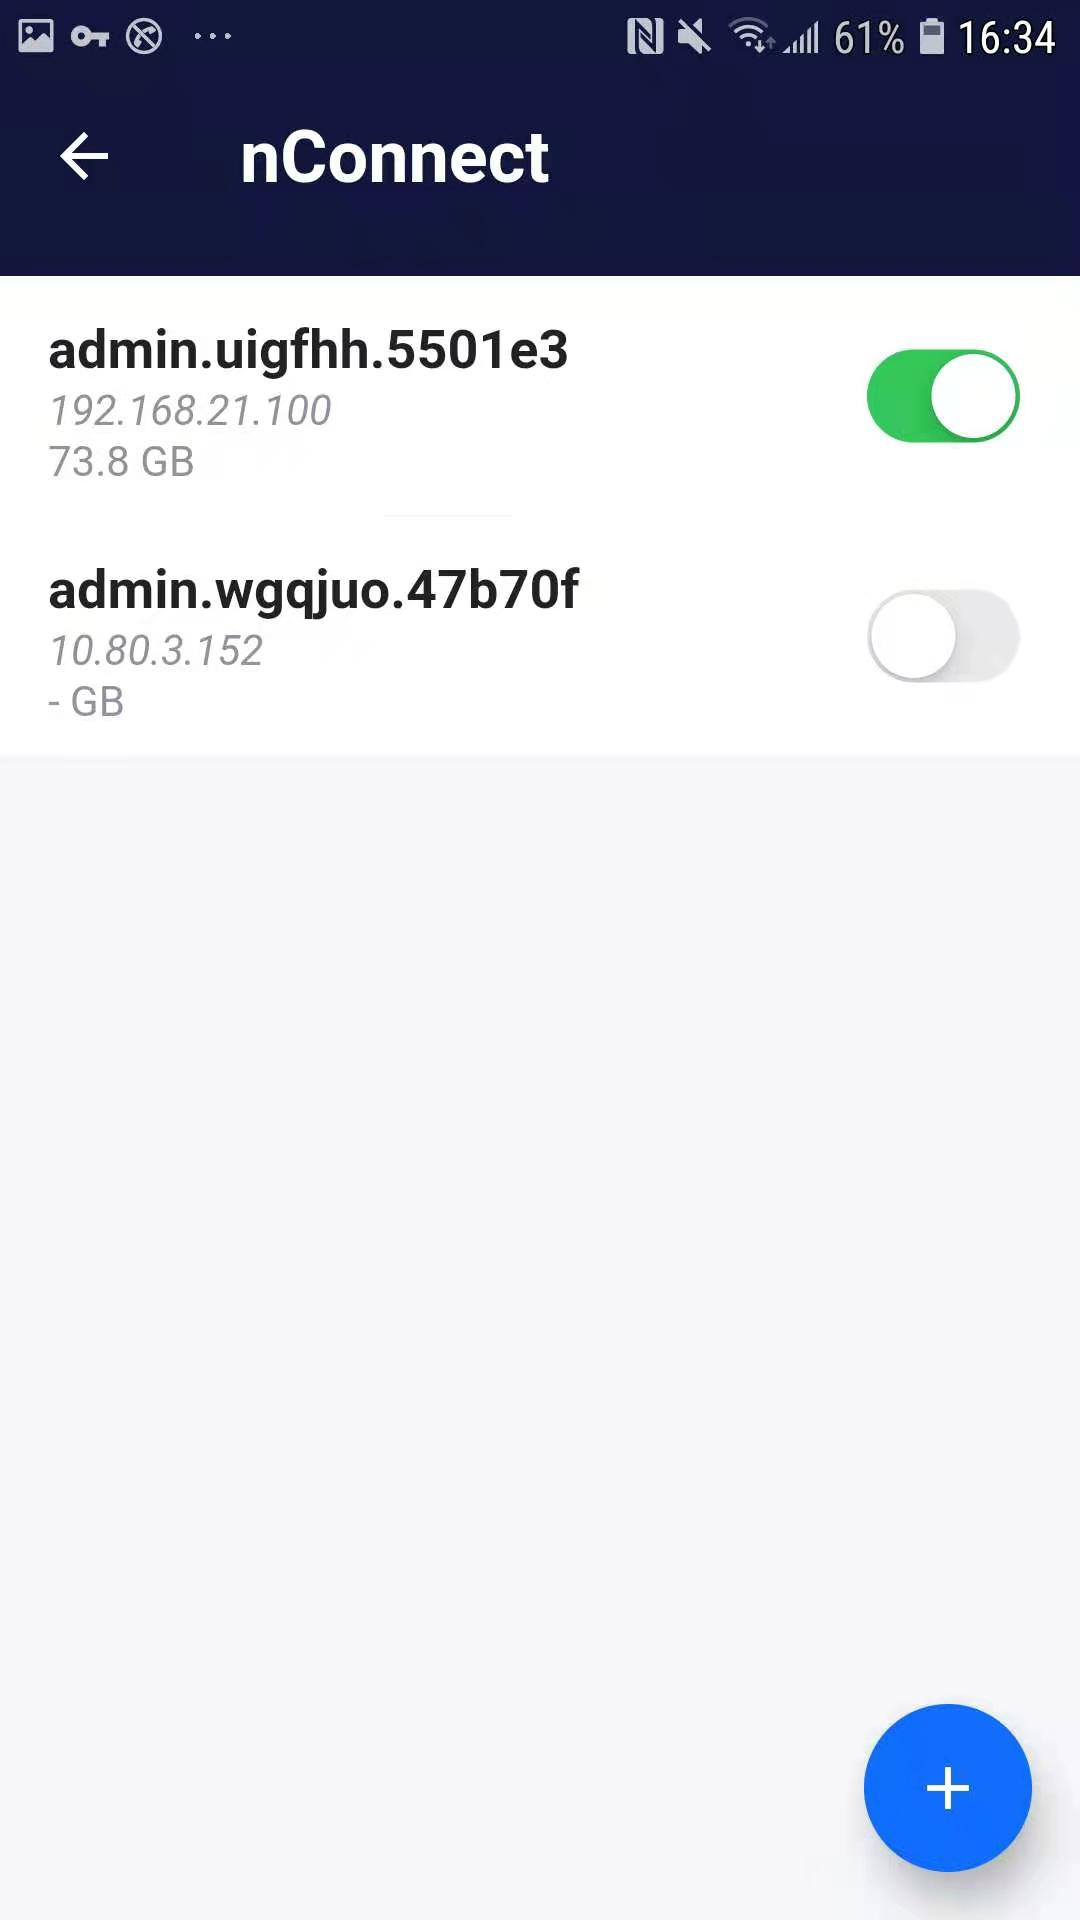
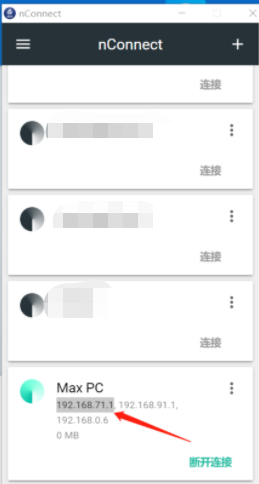
2.3 After the establish connection via nConnect, vnc is used to remote control your MAC.
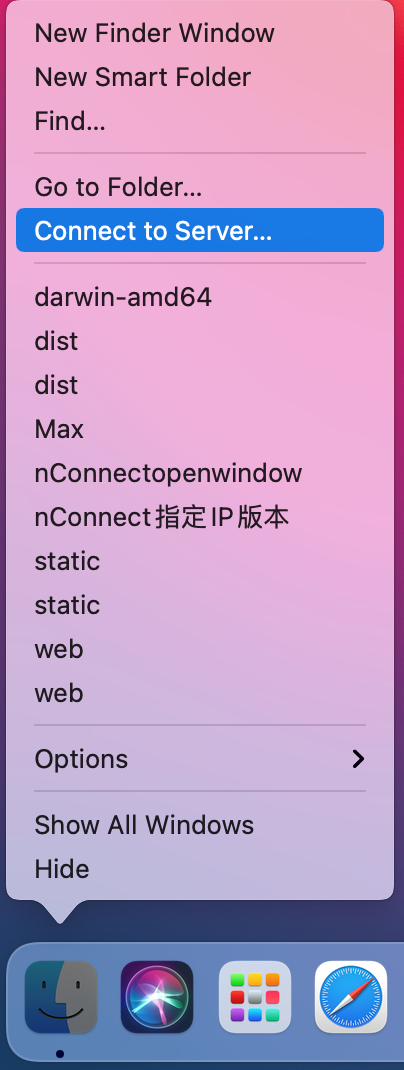

(Please use the local IP address given by nConnect)
2.4 Both client and host need to have nConnect on