
Verified for NKN 2.0, September 2020
“Fast Deploy” by nknx.org works great on a raspberry pi and is a great way to run an NKN full node at home! This is my short write-up, which is verified on latest NKN 2.0.4 release:
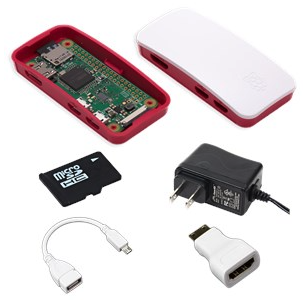
Preparation: Get the hardware goodies
Lazy person like me will just get a CanaKit: https://www.canakit.com
For the purposes of this evaluation, I am using a Raspberry Pi zero w (Broadcom BCM2835 1GHz processor with 512MB RAM, 802.11 b/g/n WiFi), 64GB microSD, case, power supply, etc. Naturally, any of the modern Raspberry Pi 3 or 4 models with at least 64GB microSD will work.
You can find out the full spec of Raspberry Pi zero w here:
https://www.raspberrypi.org/products/raspberry-pi-zero-w/
Step 1: Headless WiFi ssh installation
Just follow this simple tutorial:
HEADLESS PI ZERO W WIFI SETUP
This article covers setting up the Raspberry Pi Zero for headless SSH access over WiFi.
Step 2: Make sure your Raspberry Pi has a public IP address and can be reached.
This might involve configuring your WiFi router to enable port forwarding (TCP/UDP, 30001-65535). For NKN full node alone, port range 30001-30010 is required. However, higher ports are needed in order to run other value added services (e.g. nConnect and nCDN for additional reward) bundled with NKN Commercial.
Step 3: Nknx fast deploy (ARM) with beneficiary address
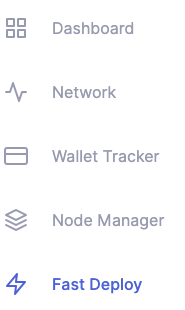
To get started, go to nknx.org, login, and on the left hand side of the screen click on Fast Deploy.
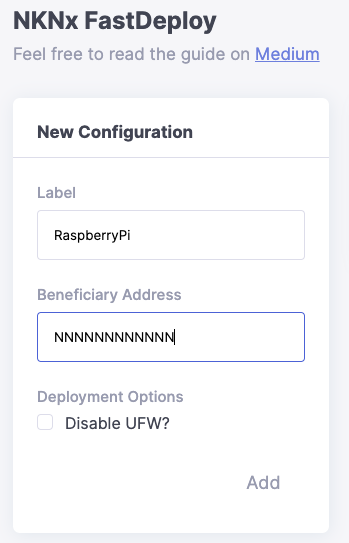
You will be given the option to enter a configuration name and beneficiary address and click add.
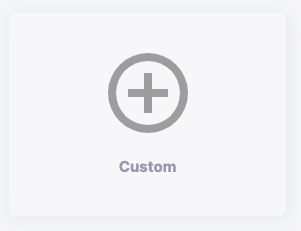
On the right hand side, highlight the configuration you just created by clicking on it, and then navigate to the down the page and click on custom.
Choose a node name, select the system architecture, and then copy and paste the resulting script onto your raspberry pi’s terminal as the root user.
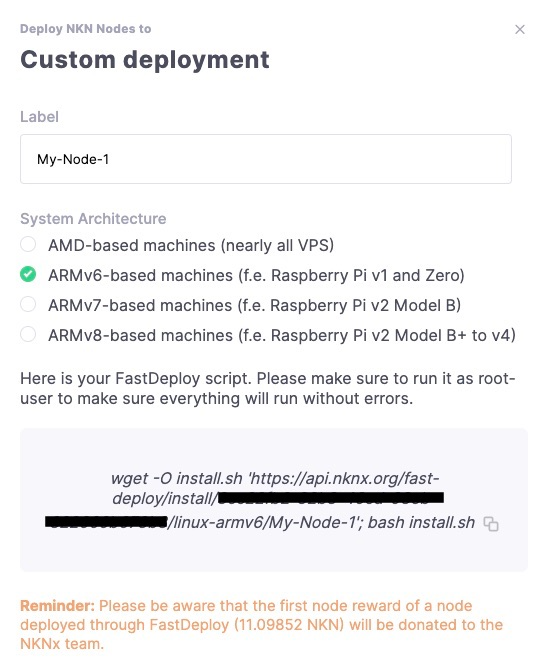
The script will download, configure, and install the NKN software onto the raspberry pi. (Editor’s note: The script is very advanced, feature packed, and foolproof. This is the nknx.org team’s secret sauce, and they spent a lot of midnight oil perfecting this script. It makes complicated things simple for users.) It installs go language and other necessary environment tools in order to download and compile the NKN software. Eventually it will report the IP address to nknx backend server so it will show up in your node manager dashboard.
When all is said and done, the success screen should show something like this:
=============================================================
NKN ADDRESS OF THIS NODE: NKN_LOCAL_WALLET_ADDR
PASSWORD FOR THIS WALLET IS: LOCAL_WALLET_PASSWORD
=============================================================
ALL MINED NKN WILL GO TO: NKN_BENEFICIARY_ADDR
=============================================================
Step 4: watch it sync
After the software install is complete, the new node will need to generate an NKN address from the network. This could take several hours. However, once you acquire an NKN Address, the new node’s IP address will automatically show up on NKNx.org node manager. It shows the state as “start syncing”
Since nknx.org has 5 minutes interval in querying data, you might want to use the command line on the VM to check real-time state of your node by using nknc like below. Since I’m not that patient, I used a lot of nknc to see how my node is syncing up with the blockchain. Alternatively and if you don’t want to touch the command line, you can use http://nstatus.org to check your node’s status via its public IP address.
./nknc --ip YOUR_IP_ADDRESS info -s
{
“id”: “1”,
“jsonrpc”: “2.0”,
“result”: {
“addr”: “tcp://x.x.x.x:30001”,
“currTimeStamp”: 1563944931,
“height”: 3024,
“id”: “NNNNNNNNNNNNNN”,
“jsonRpcPort”: 30003,
“proposalSubmitted”: 0,
“protocolVersion”: 30,
“publicKey”: “KKKKKKKKKKK”,
“relayMessageCount”: 1,
“syncState”: “SYNC_STARTED”,
“tlsJsonRpcDomain”: “x-x-x-x.ipv4.nknlabs.io”,
“tlsJsonRpcPort”: 30005,
“tlsWebsocketDomain”: “x-x-x-x.ipv4.nknlabs.io”,
“tlsWebsocketPort”: 30004,
“uptime”: 275,
“version”: “v2.0.4”,
“websocketPort”: 30002
}
}
During initial blockchain sync, nknd may use more than 50% of the CPU. In contrast, during normal operation nknd uses on average 35% of theCPU and 24% of RAM.
It can take up to 48 hours or more to sync up to the latest block. Faster CPU and faster Internet connection can speed up this block sync process.
Step 5: I’m mining, yay!
How can I try it out?
NKNx and Fast Deploy are available now at nknx.org