
Backing up multiple Macs with different NAS user accounts
- (Optional) Create a Time Machine backup user.
Tip: A dedicated Time Machine user account can be created to provide additional security, and the ability to set storage quotas for each Mac. - Open Control Panel.
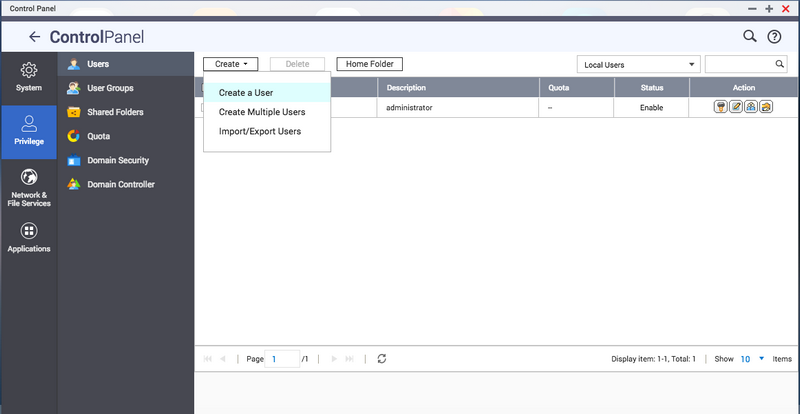
- Go to Privilege > Users.
- Click Create.
- Select Create a User.
- Enter a username and password for the Time Machine backup user.
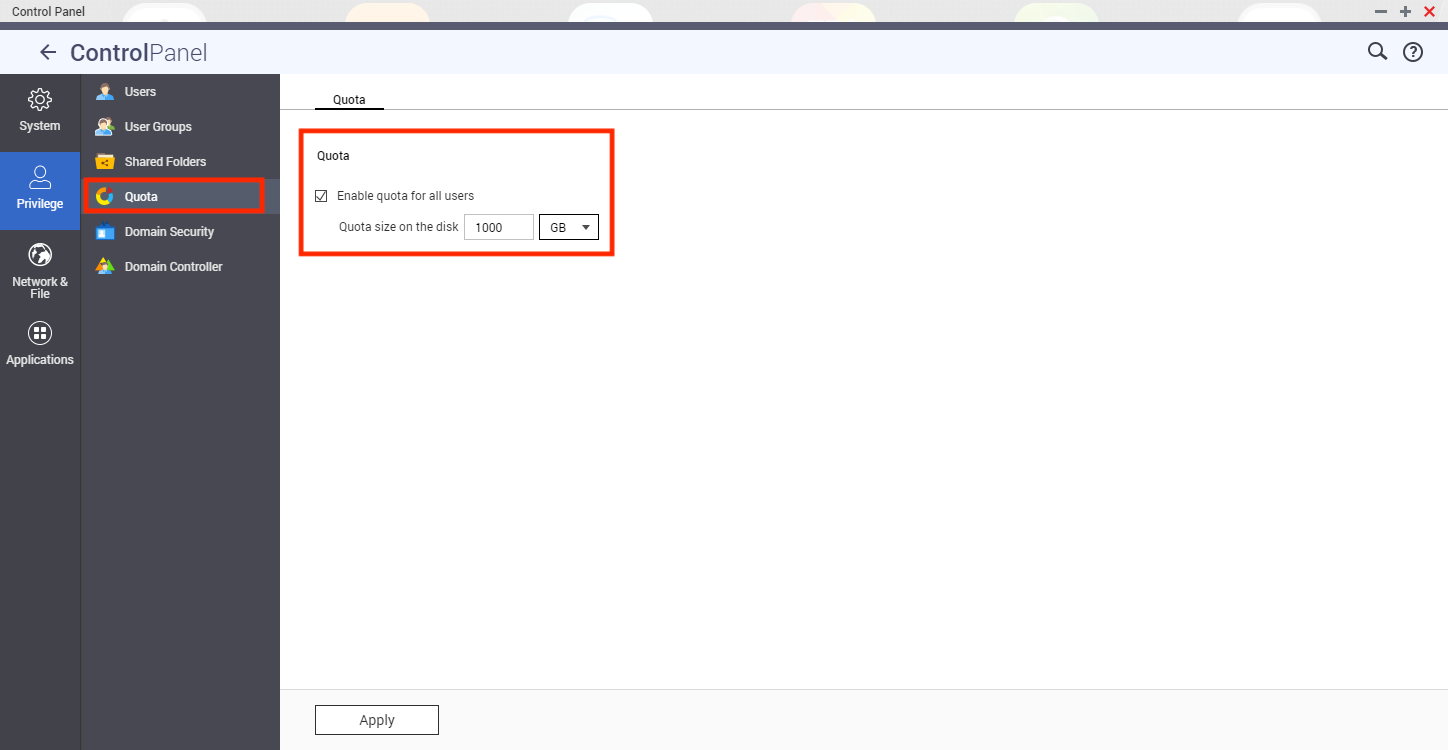
- (Optional) A storage quota for this account can be set to prevent excessive space usage when backing up.
1. Go to Privilege > Quota.
2. Check Enable quota for all users.
Tip: It is recommended to use a quota of at least twice your Mac’s total storage space.
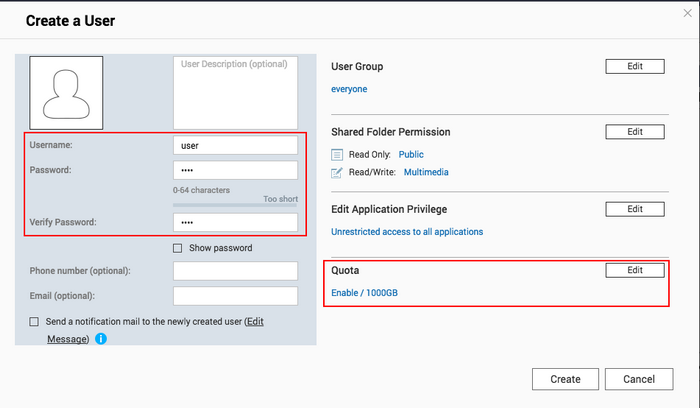
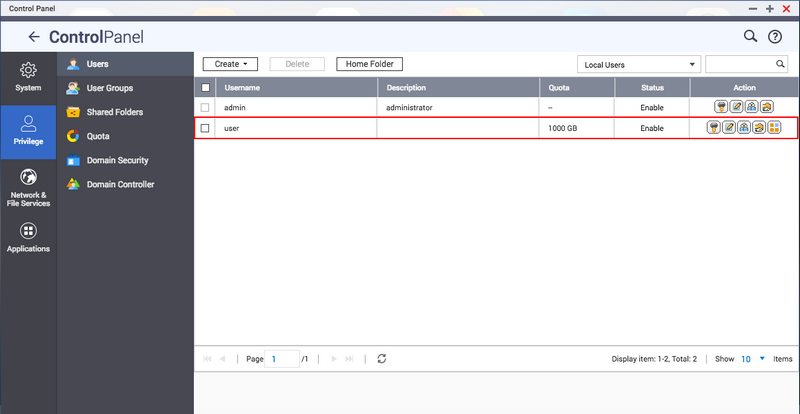
7. Click Create.
2. Create a Time Machine backup shared folder.
- Open Control Panel.
- Go to Privilege > Shared Folders.
- Click Create.
- Select Shared Folder.
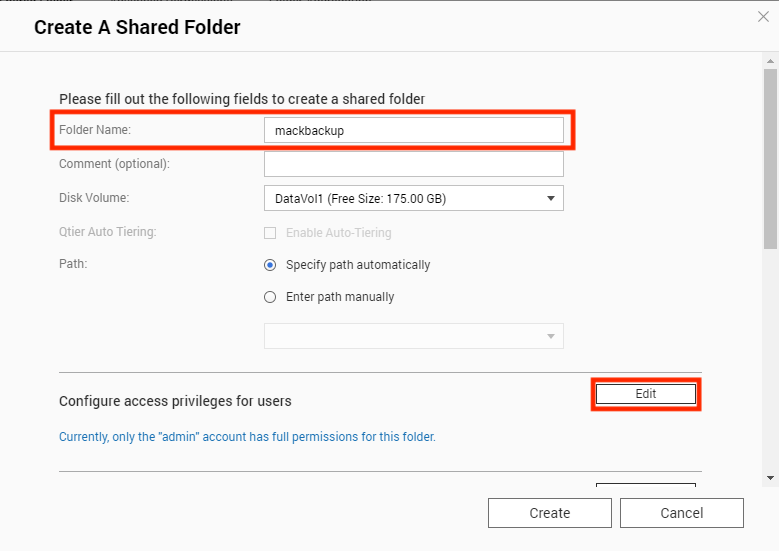
The Create A Shared Folder window opens.

- Enter a Folder Name.
- Click Edit.
- Give the Time Machine backup user RW access privileges.
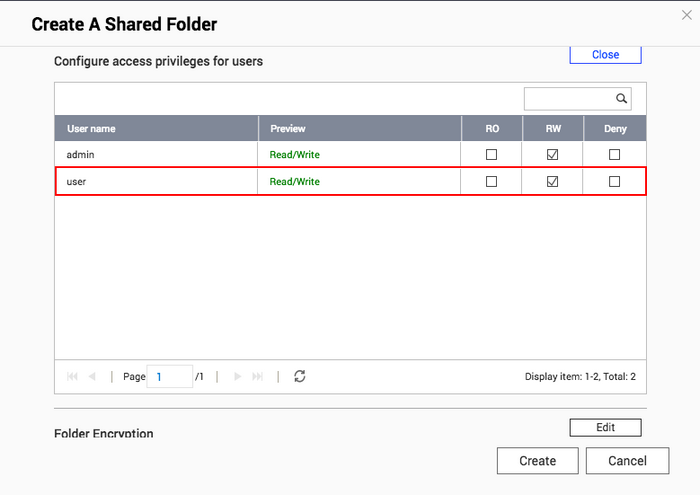
- Click Create.
- Find the new folder in the list of Shared Folders and click
 .
.

- Check Set this folder as the Time Machine backup folder (macOS).
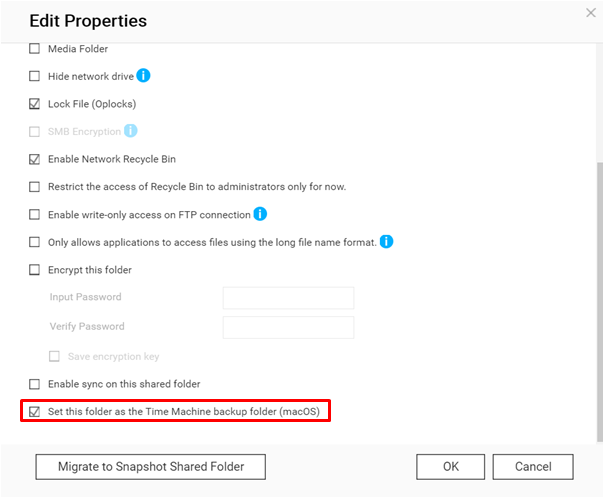
- Click OK.
- Configure QTS to use SMB 3
- Open Control Panel.
- Go to Network & File Services > Win/Mac/NFS > Microsoft Networking.
- Click Advanced Options.
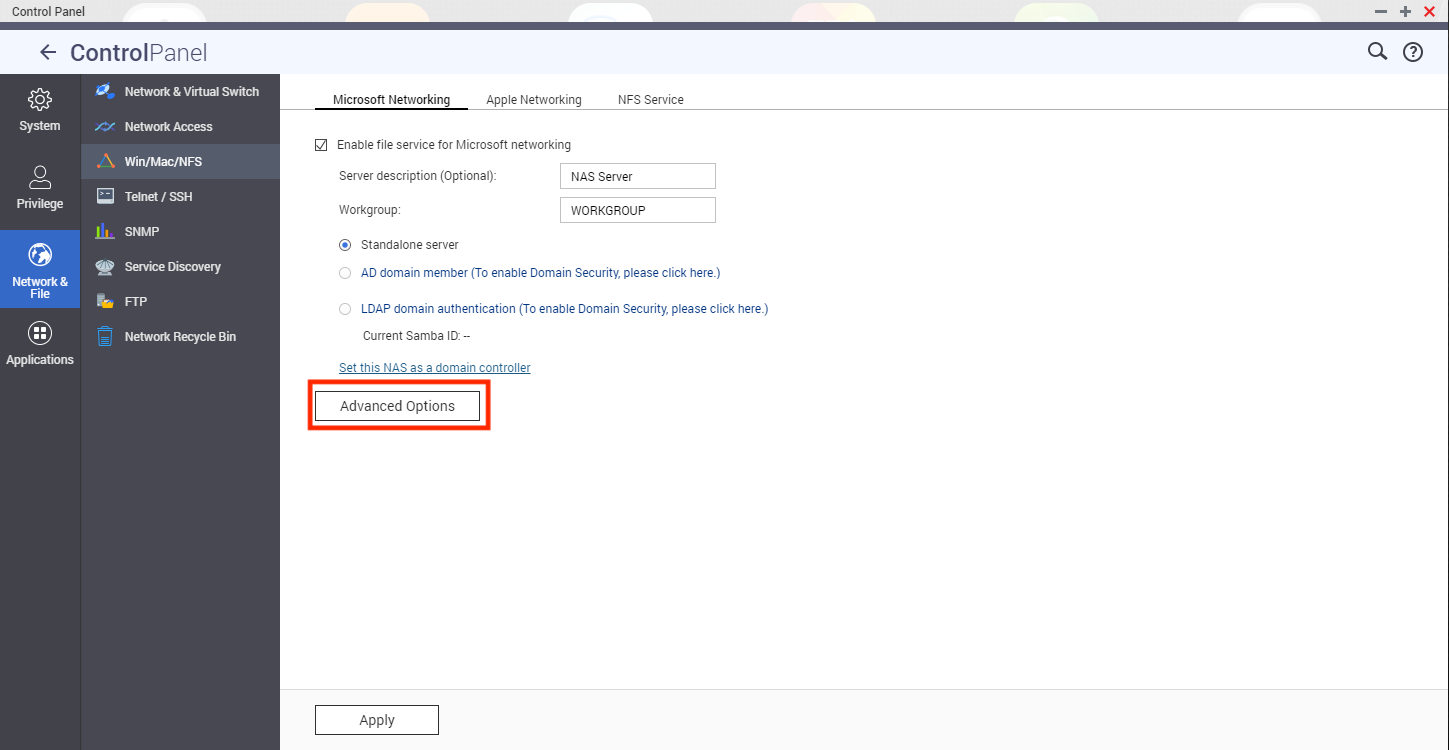
- Under Highest SMB version select SMB 3.
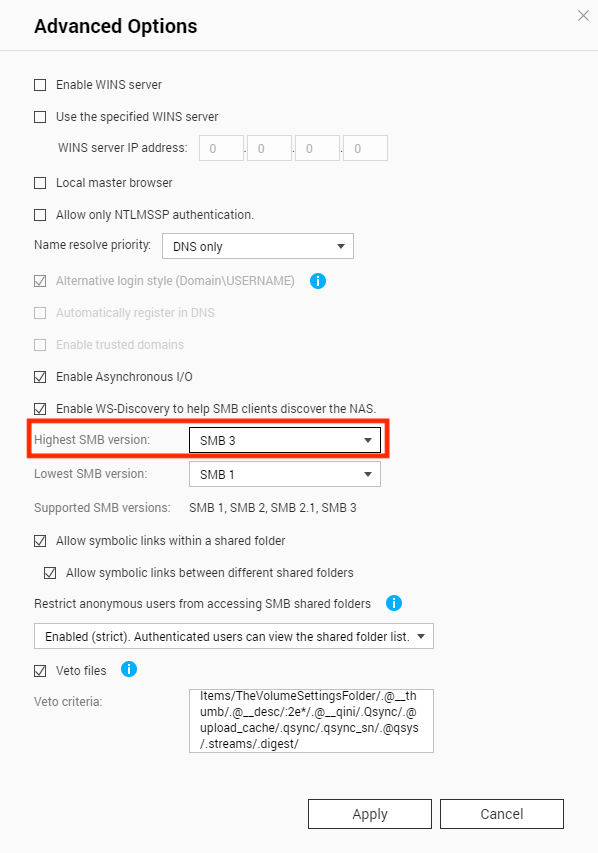
- Click Apply.
- Configure Time Machine to use the NAS for backups
- Connect the NAS to your Mac.
1. Open Finder on your Mac.
2. Open the Go menu.
3. Click Connect to Server.
4. Enter smb://.
5. Enter the username and password of the backup user account.
6. This can be your NAS account or the dedicated Time Machine user account.
7. Select the NAS shared backup folder.