
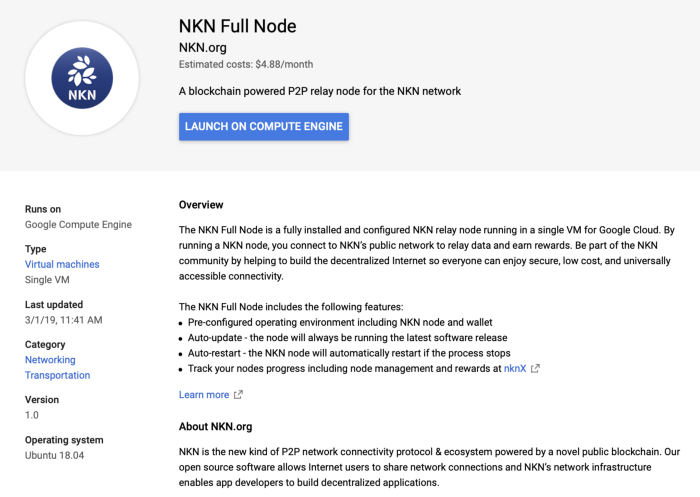
Please note: The estimated cost shown on the Google Cloud Marketplace does not include Google Cloud’s network cost. On average, the network cost should be around $10/mo. You can find out more about network service pricing from Google Cloud.
Deploying and joining the NKN network is as simple as a few clicks. From our marketplace page, click on the “Launch on Compute Engine” button, and you should be able to see the following page to configure your instance.
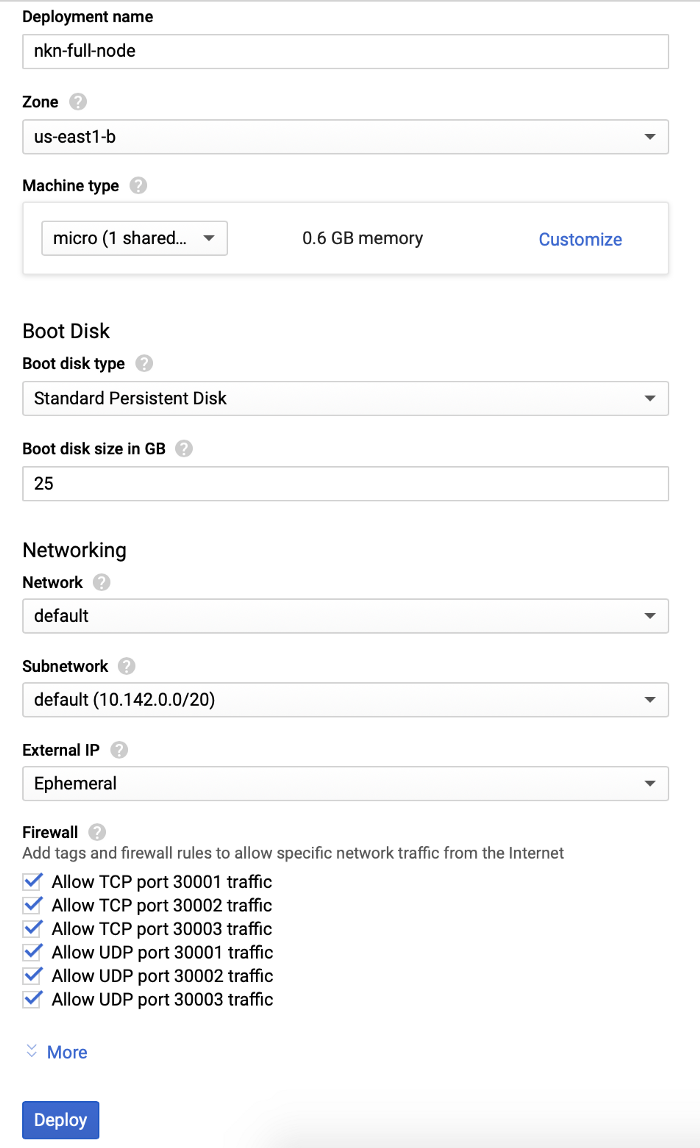
The default values are sufficient for most of these settings, however there are a few options you may want to consider:
- Deployment name : your instance name will be generated using the deployment name with a ‘-vm’ suffix.
- Zone : your instance will be located in this geolocation zone. There is no “best” zone to deploy to, while there are a few factors you might want to consider such as your Internet connection quality to it, how many nodes are there already in that zone, etc.
- Machine type : while the default micro instance should work at the moment, it may not be enough in the future when there are more traffic in the network. So you might want to choose based on the network status.
- Boot disk type : Standard Persistent Disk should be enough.
- Boot disk size : required boot disk size depends on the history data size of the network and grows with time, and you should only make this number bigger but not smaller.
- Firewall : please allow all listed ports (as default), otherwise your nodes will not be able to relay traffic properly.
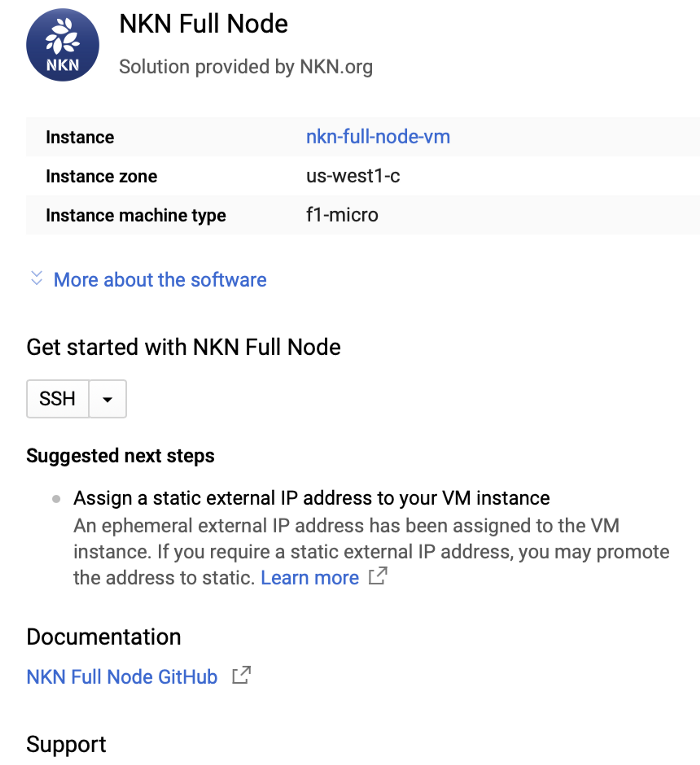
When you are done customizing the deployment, you can start the actual deployment process by clicking on the “Deploy” button at the bottom. After a while you should be able to see the following screen indicating the deployment is successfully.
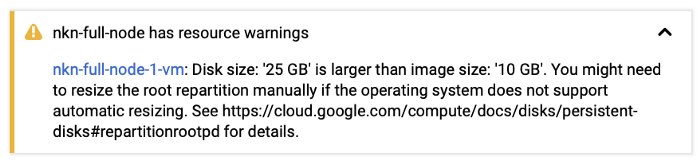
Please note that you may see a warning indicating that the specified disk size of 25 GB is larger than image size of 10 GB. This is normal. The additional disk space will offer plenty of room to store chain data allowing the node to run for a long time into the future.
After the instance is created, nknd (NKN daemon) will be launched automatically by supervisor user nkn, and your instance will be part of the NKN relay network without any configurations.
There are a few ways you can check the status of your node:
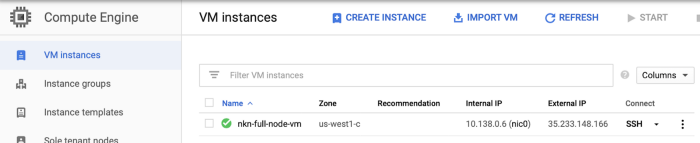
- Use a cloud service (such as nknX). You just need the public IP address of your instance in order to check its status. The public IP address can be found at Compute Engine -> VM Instances and under the External IP column.
-
Command line tool nknc from a remote computer . You can download the latest nknc release or build from source. After that you can use
nknc — ip <your instance public ip address> info -sto view the status of your node. Note that the function of nknc is limited if you are not running it from the instance. -
Command line tool nknc from within the instance . The tool nknc is already installed and located in the directory
/home/nkn/go/src/github.com/nknorg/nkn. You can use the commandnknc info -sto view the status of your node. For additional commands, typenknc -help. To ssh into the instance, you can click on the SSH button of your instance (Compute Engine -> VM Instances) as shown in the previous screenshot.
Backup Wallet and Password
When the NKN Full Node is started for the first time, a NKN wallet and its password will be generated automatically under the directory /home/nkn/go/src/github.com/nknorg/nkn named wallet.json and wallet.pswd respectively. Please take care to protect and back up both of these files since they are needed to access and control your account. If your wallet is lost you will lose access to your account, and if your wallet is copied by a malicious 3rd party you may lose control of your wallet and its contents. Therefore, it is important that you keep these files safe.
The wallet.json and wallet.pswd files can be backed up from the Google Console in just a few steps:
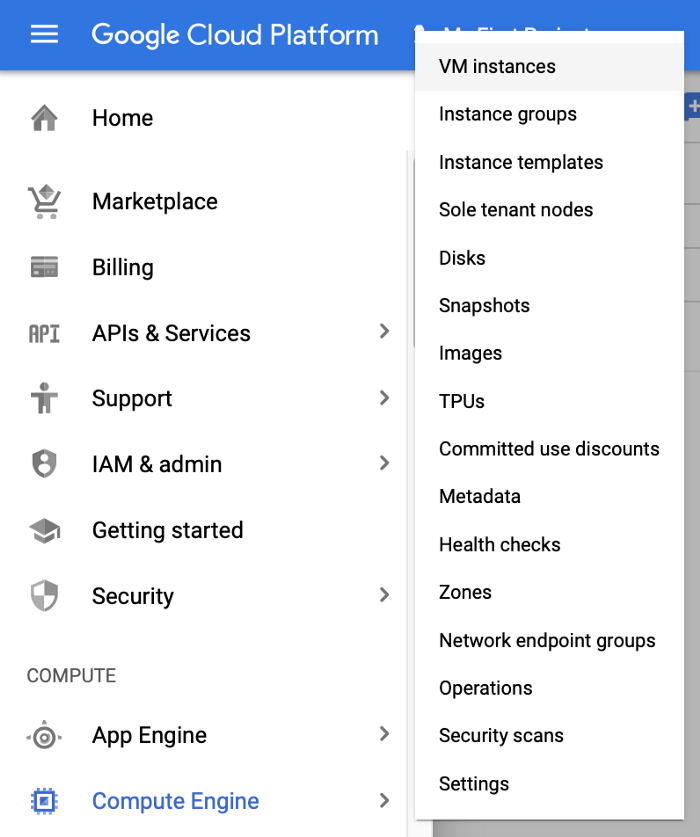
- ) From Google Console, navigate to VM Instances by choosing Compute Engine and then VM Instances from the menu on the left of the page
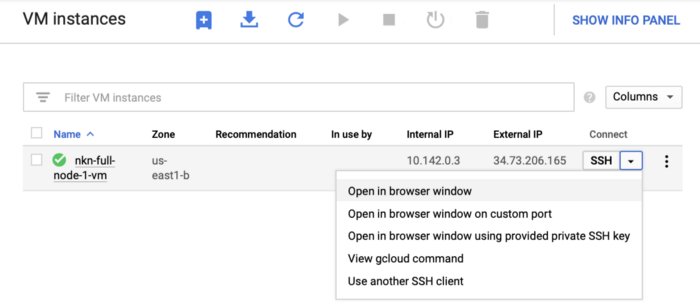
2.) From the VM Instances page, locate the instance associated with the NKN Full Node (labeled “nkn-full-node-1-vm” by default) and click the down arrow next to where it says SSH and choose “Open in browser window”.
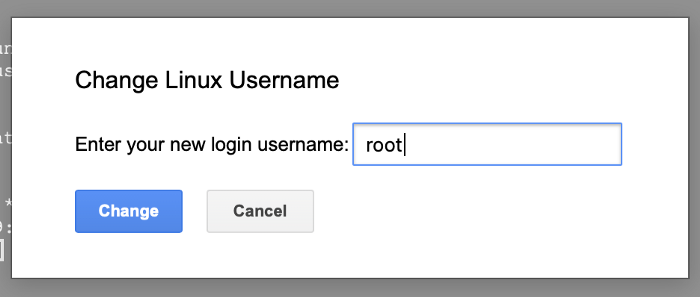
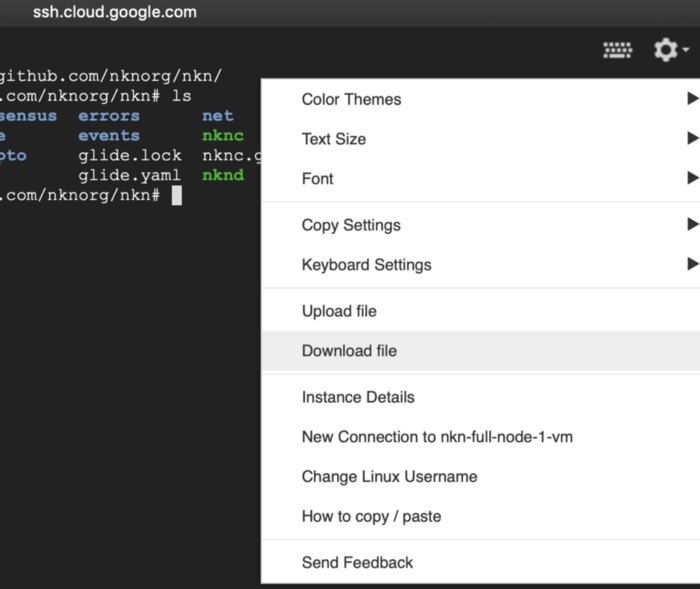
3.) A browser window will open with a SSH connection. On this window, select the gear icon in the upper right corner and from the drop down menu select “Change Linux Username”
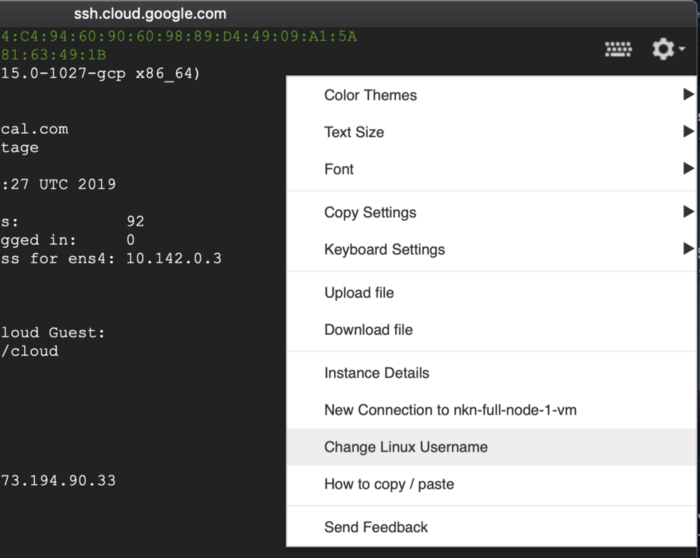
and enter the username root and click change.
4.) After the terminal has logged in as root, you will then be able to download the wallet.json and wallet.pswd files to your computer. To do this, go back to the gear icon on the top right of the window and on the drop down menu choose download file.
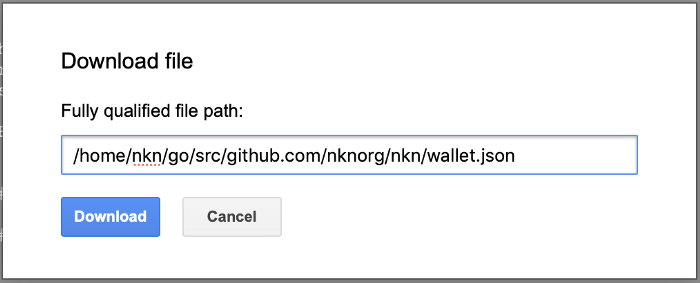
Now enter the file path: /home/nkn/go/src/github.com/nknorg/nkn/wallet.json and click download.
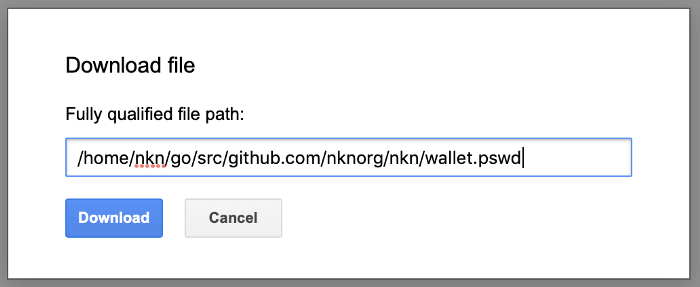
When the download has finished, go back to the gear icon in the upper right corner and choose download again. This time, enter the file path: /home/nkn/go/src/github.com/nknorg/nkn/wallet.pswd and click download.
You have now backed up your wallet and password files!
You can verify that your wallet and password have been backed up correctly by going to the official NKN Wallet and selecting you wallet file, wallet.json, and entering your wallet password, which is located in your wallet.pswd file. If you are able to open the wallet, then your backup was successful.
Configure Beneficiary Address:
For users that will be running more than 1 NKN node, It is recommended that you setup a beneficiary wallet address. When a new NKN node is first started, a unique wallet will be generated for that node. However, if you run more than 1 NKN node, managing separate unique addresses for each node can be cumbersome. Therefore, you can specify a beneficiary address which is a wallet address where you would like all of you token rewards to be forwarded. If you do not have a NKN Wallet, you can create a new one by going to https://wallet.nkn.org
To setup a beneficiary address:
- ) From the VM Instances page, locate the instance associated with the NKN Full Node (labeled “nkn-full-node-1-vm” by default) and click the down arrow next to where it says SSH and choose “Open in browser window”.
2.) from a terminal window type the command:
jq --arg ba YOUR_EXISTING_NKN_WALLET_ADDRESS '. | .BeneficiaryAddr=$ba' <<< '{}' > /home/nkn/go/src/github.com/nknorg/nkn/config.user.json
Replace YOUR_EXISTING_NKN_WALLET_ADDRESS in the text above with your NKN wallet address, a string starting with the letter NKN (example: NKNrZVhaDdudT25GTr6EeLyGiy8g1VHdTs)
3.) Reboot the node for the changes to take effect. Follow the instructions to reboot the node under the section “Non-mandatory Upgrades” below.
Non-mandatory Upgrades
Occasionally, NKN will offer new releases that are not mandatory upgrades. If you would like to upgrade to one of these new releases, you can do so by rebooting your node. Follow the instructions below to reboot your NKN Full Node on Google Cloud:
1.) From the Google Cloud Console, Click on “Compute Engine” from the menu on the left of the page, and choose “VM Instances”
2.) From the VM Instances Page, find the Node you would like to reboot and click on the three vertical dots to the right of the selected node. This will open a menu with control options for your VM.
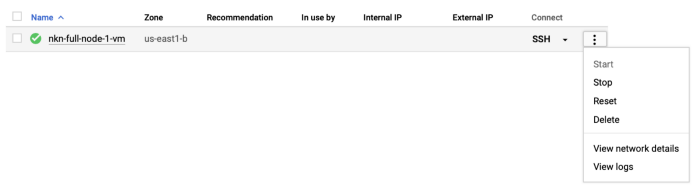
Internal and External IP addresses were removed from the picture for security
3.) From the menu, choose “stop” and once the action is complete, choose “start” again. The node will reboot, download the latest software, and synchronize which may take a few minutes to complete.
4.) You can monitor the status of your node from the nknx Node Manager.
Next Steps
For more information on NKN Full Node, please visit our Github. You can use the NKN network to transmit any data from peer to peer using nkn-client-js or other NKN client implementations. You can also transfer NKN tokens using nkn-wallet-js or other supported wallet implementations.
Please join the NKN Discord group for more technical support and discussions.